Our web builder is intended for the Do It Yourselfers of the world, but a little kick start never hurt anyone! You can choose to dive into designing your website using the intuitive features of Weebly or you can follow this quick guide to get started. For more FAQs, see <here>.
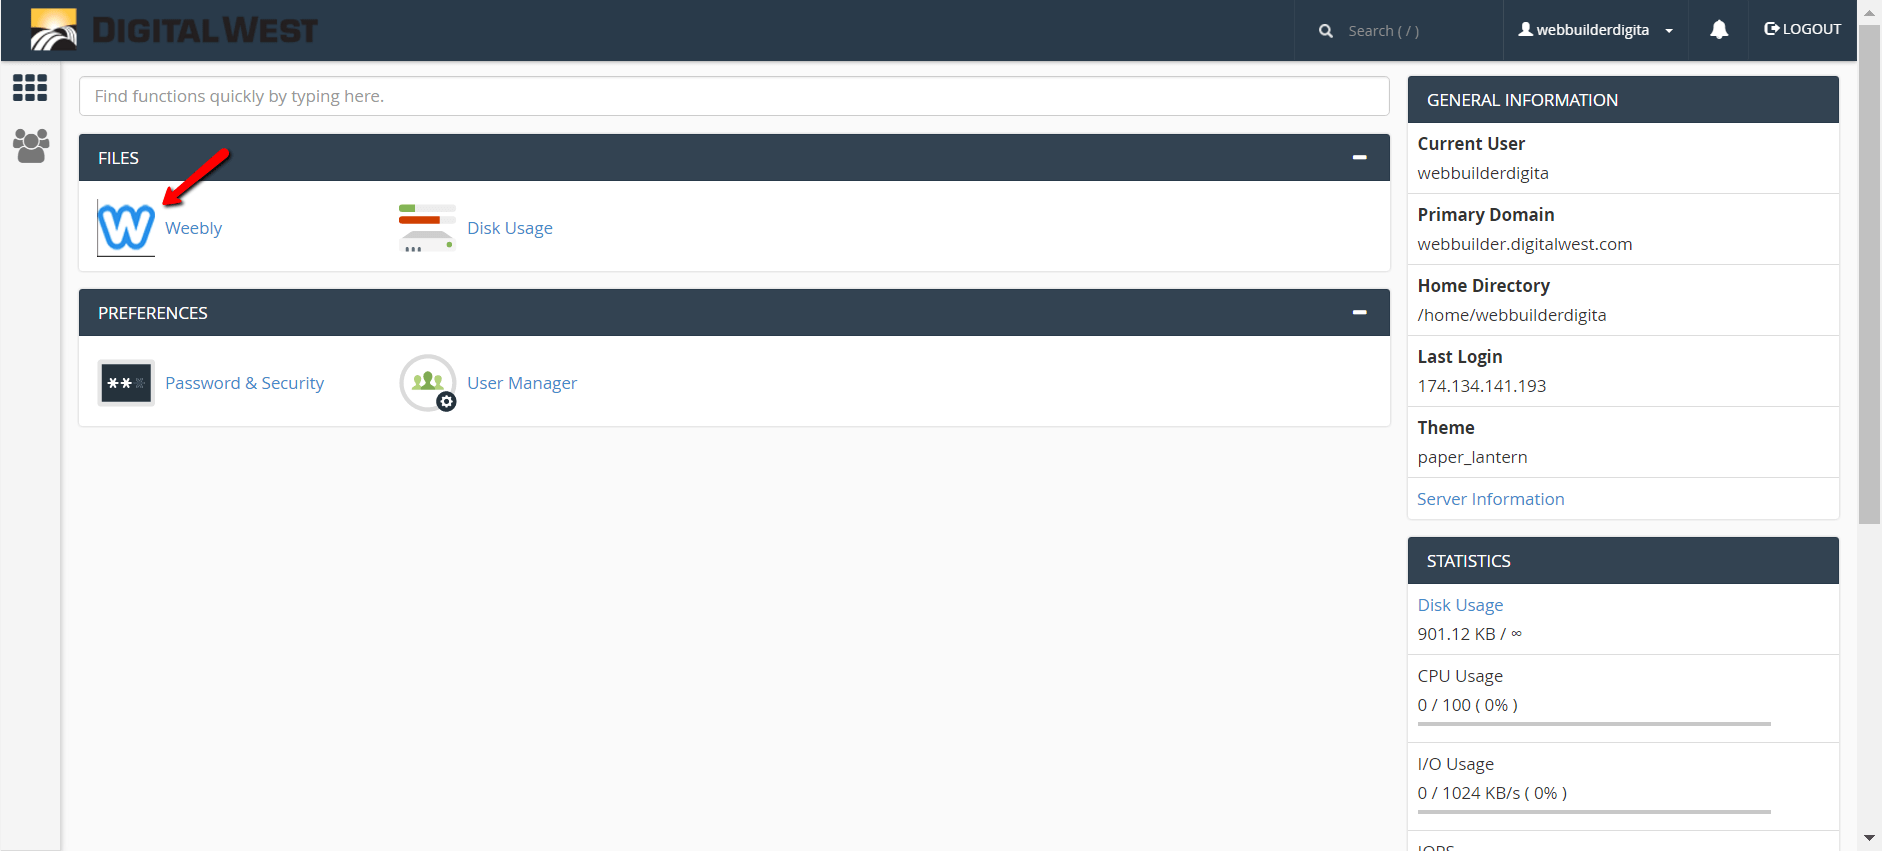
When you log into your cPanel you should see a Weebly icon. Click on this icon to launch the Weebly editor.
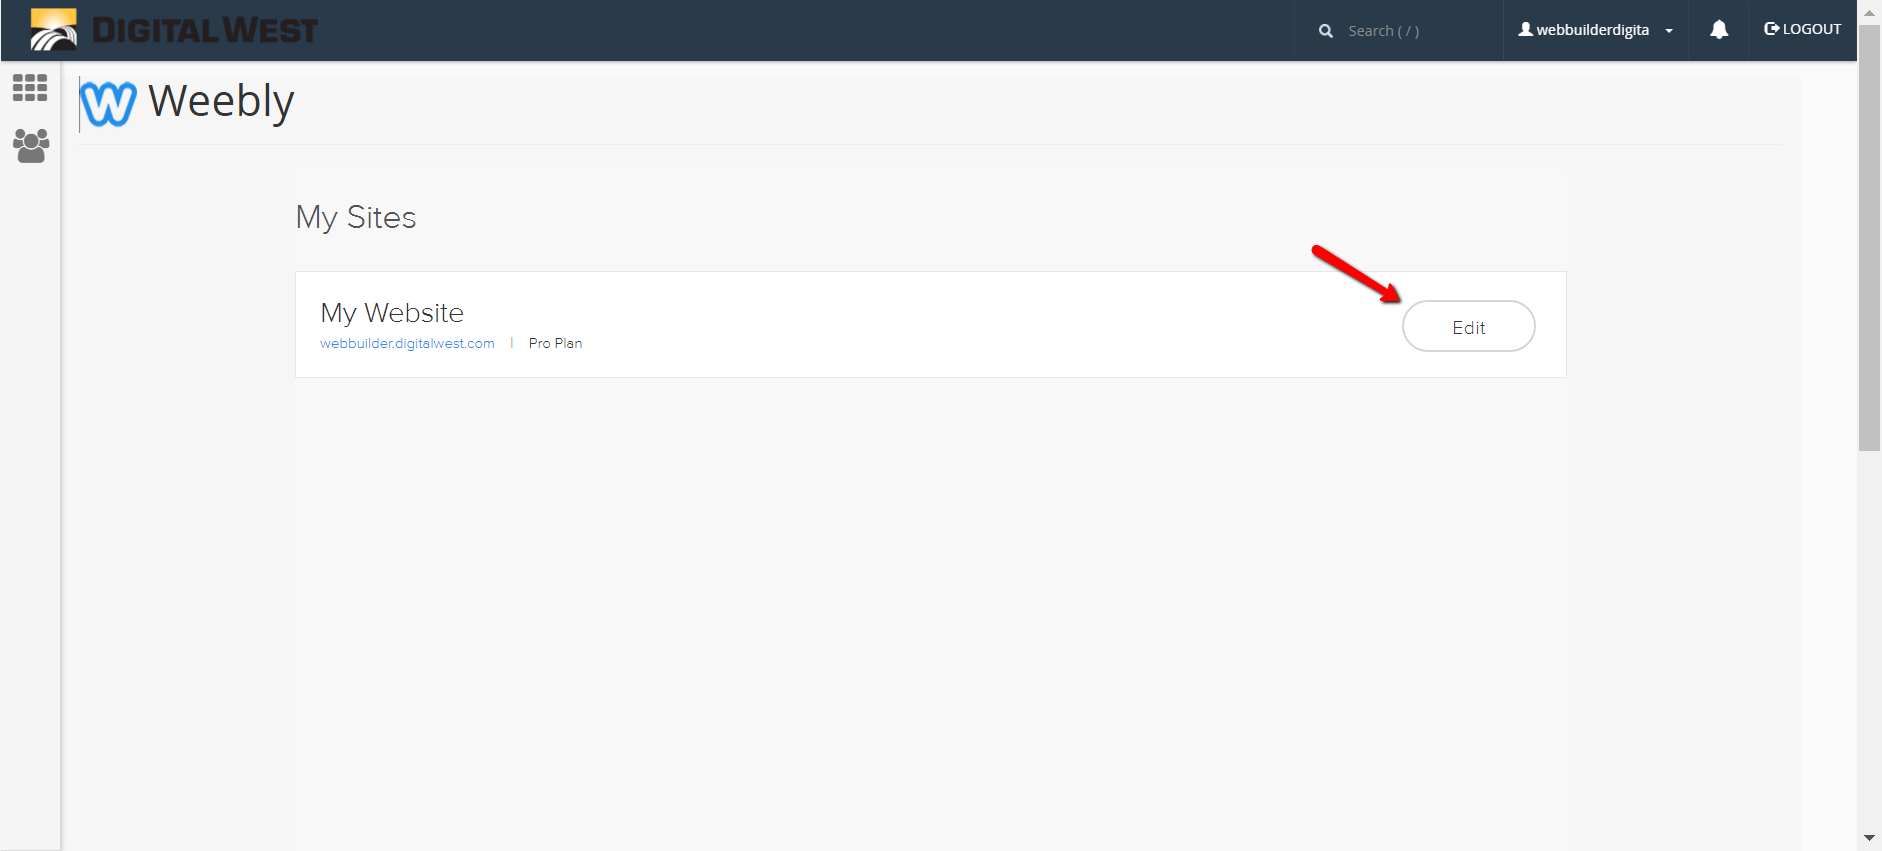
Click the Edit button on the website you will be editing.
Choose a theme for your website. Items in these themes can be altered, added to or have sections removed, so pick a theme that is close to what you want to create.
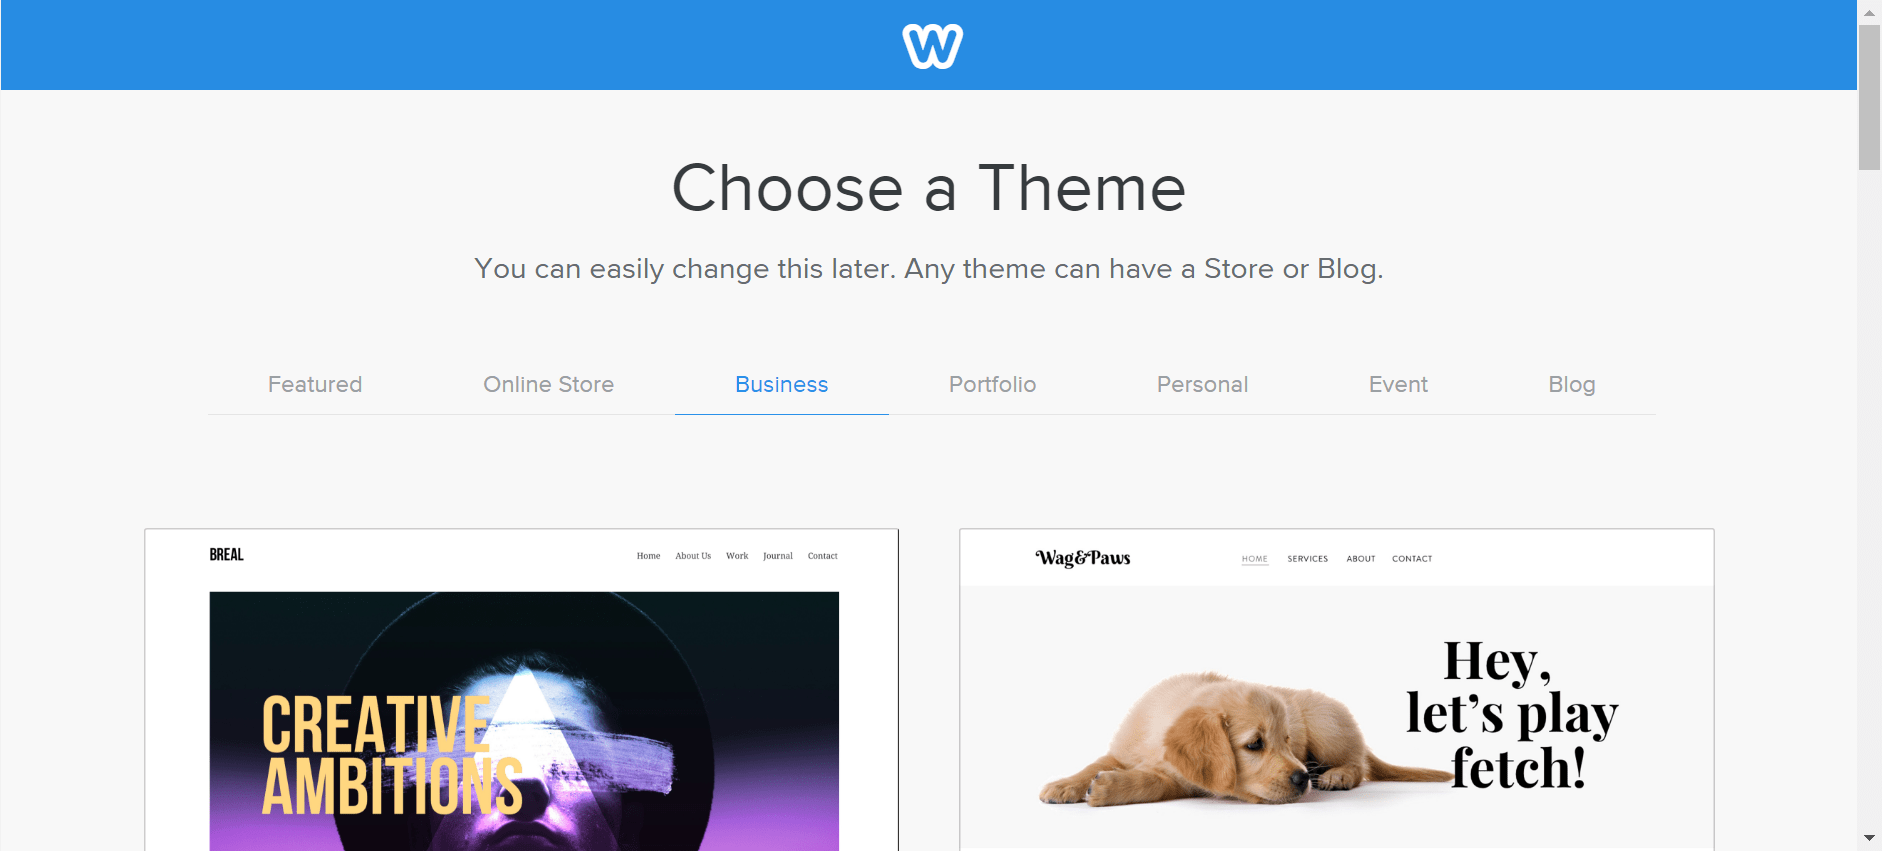
Hover over your chosen theme and click the blue “Choose” link which appears in the bottom right hand side of the theme.
This will take you to the editor where you can replace placeholders in the theme with your own company’s information. As seen below, we are replacing the theme title, ‘Sol de Terrace’ with our company’s name, ‘Digital West’.
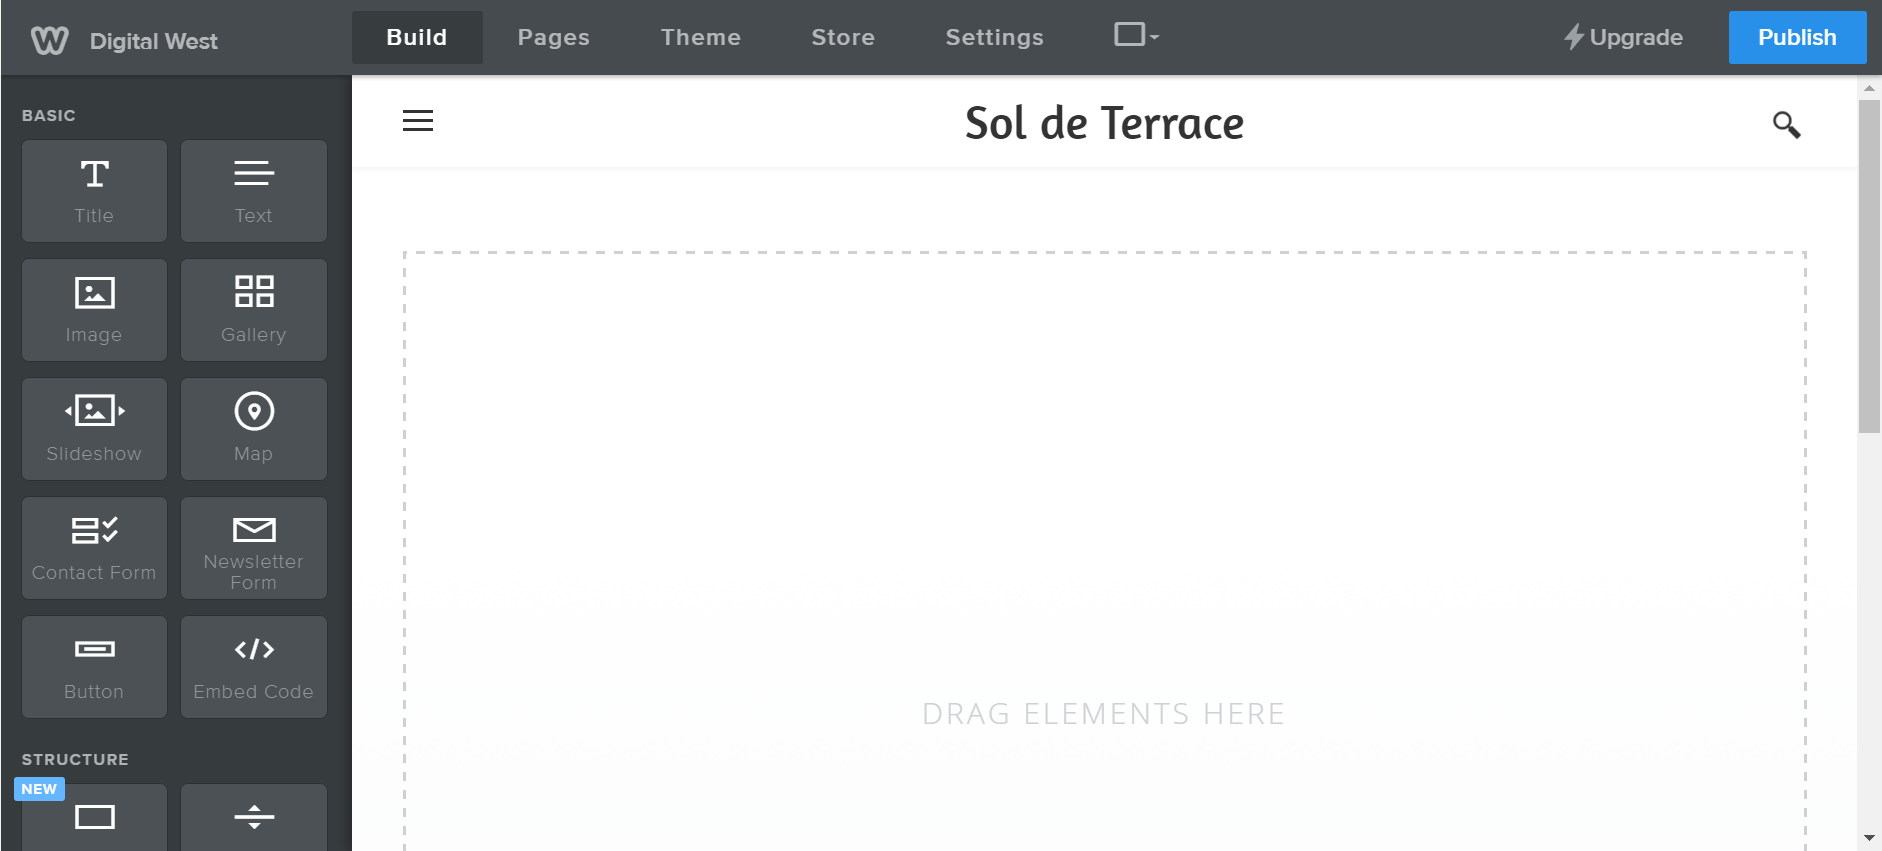
Highlight the text in the title of the page as seen below and type in your company’s name. When done, click outside of the editable area and the text change will save automatically.

If your theme has a ‘Drag Elements Here’ space, you can find an image on your computer and drag that image directly into that space.
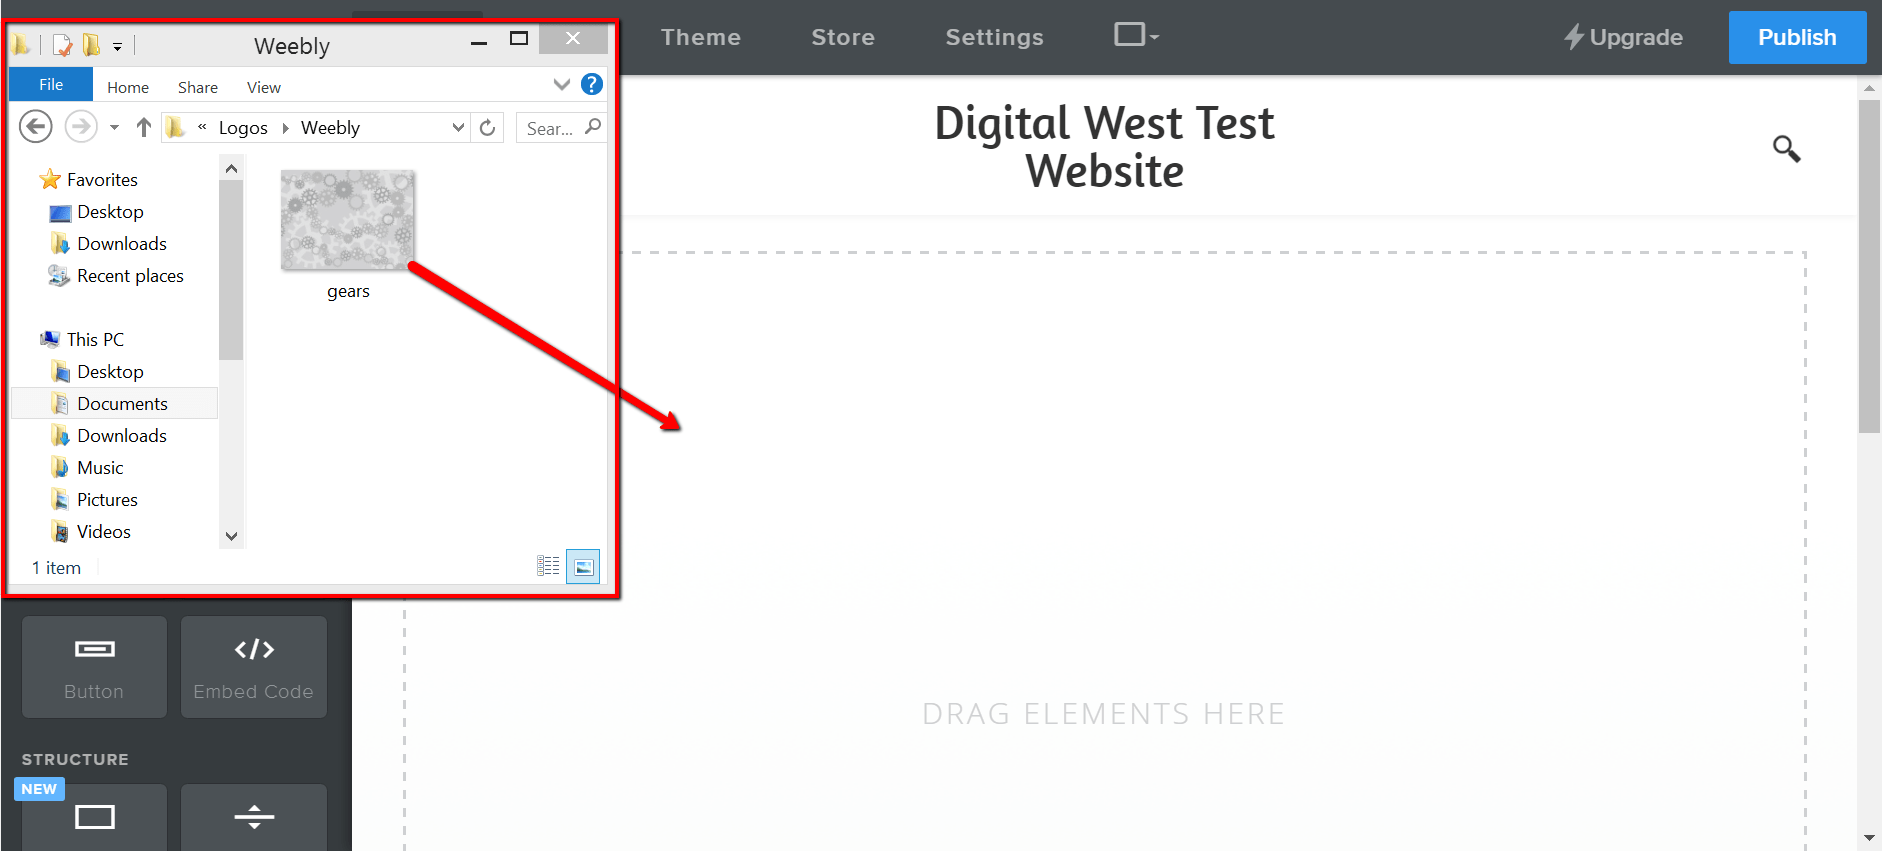
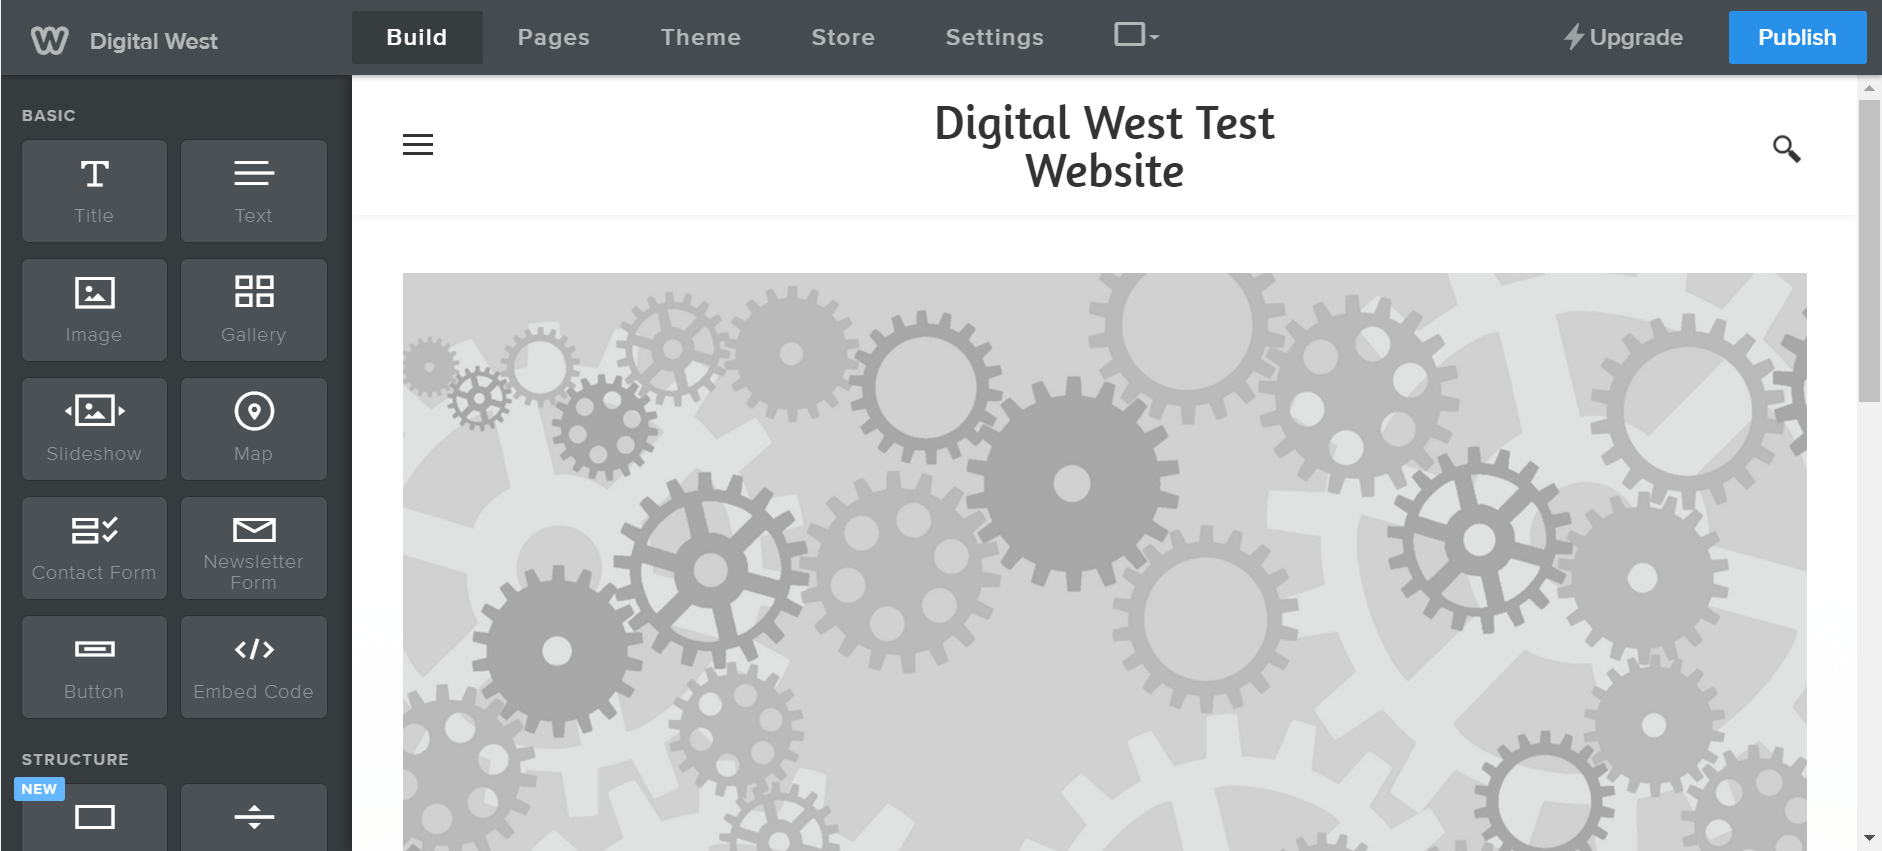
The image will then appear in that location. You can now click on the image to edit it. We’ll cover the topic of editing more later in this document.
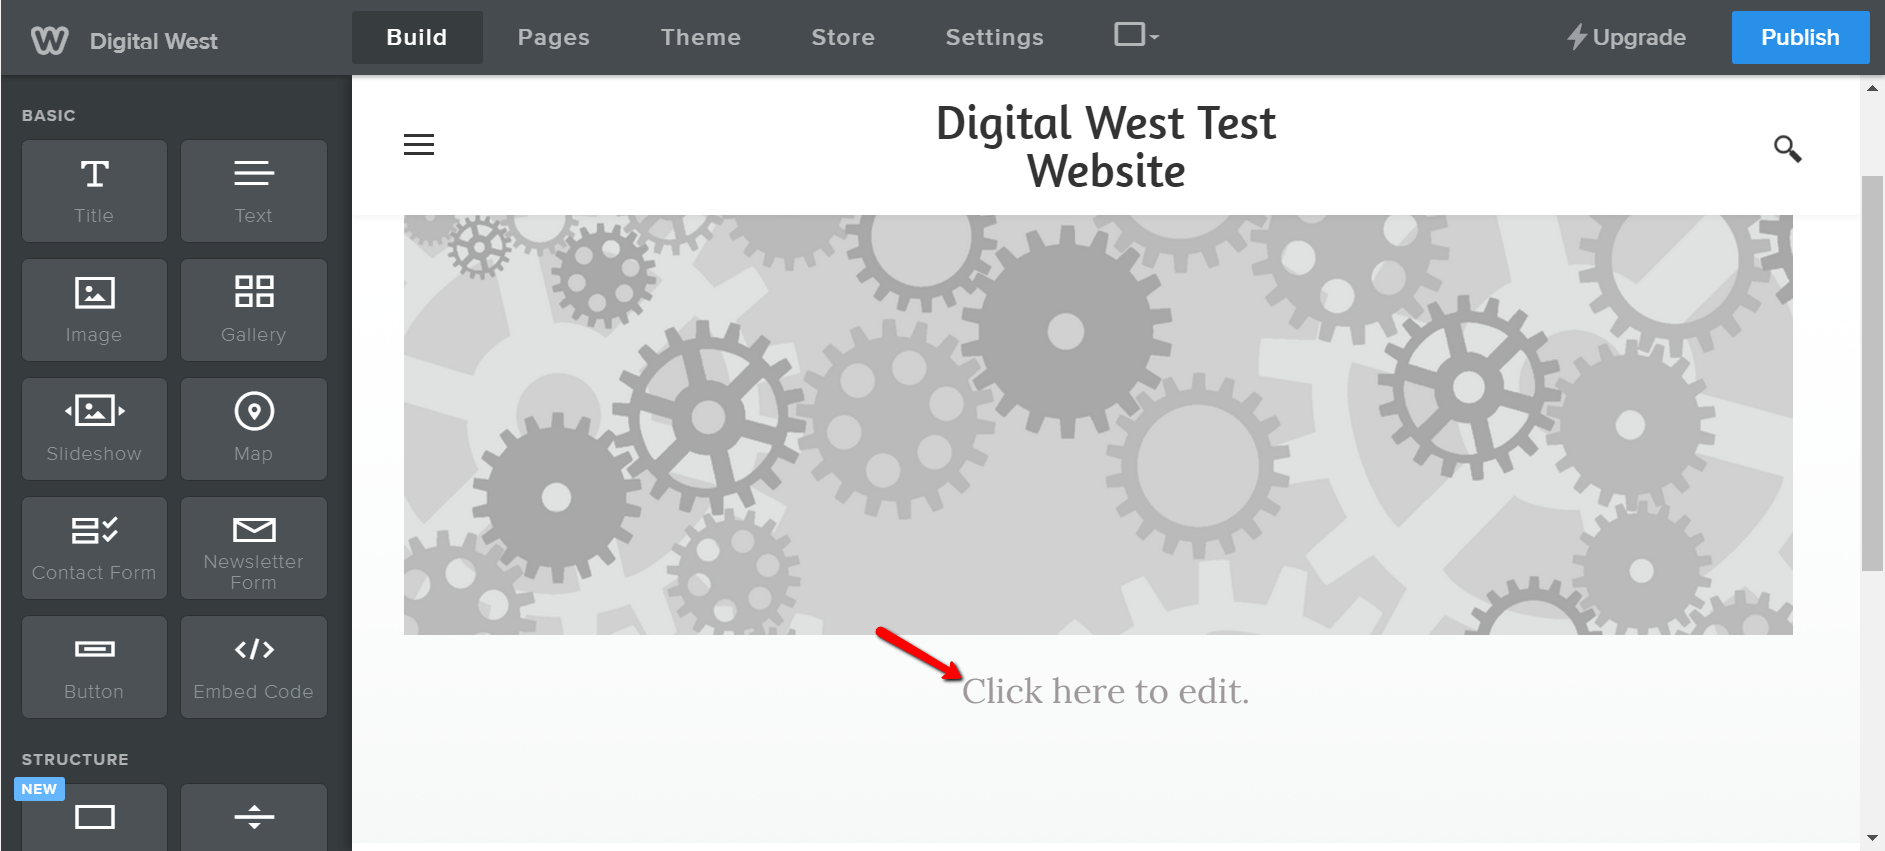
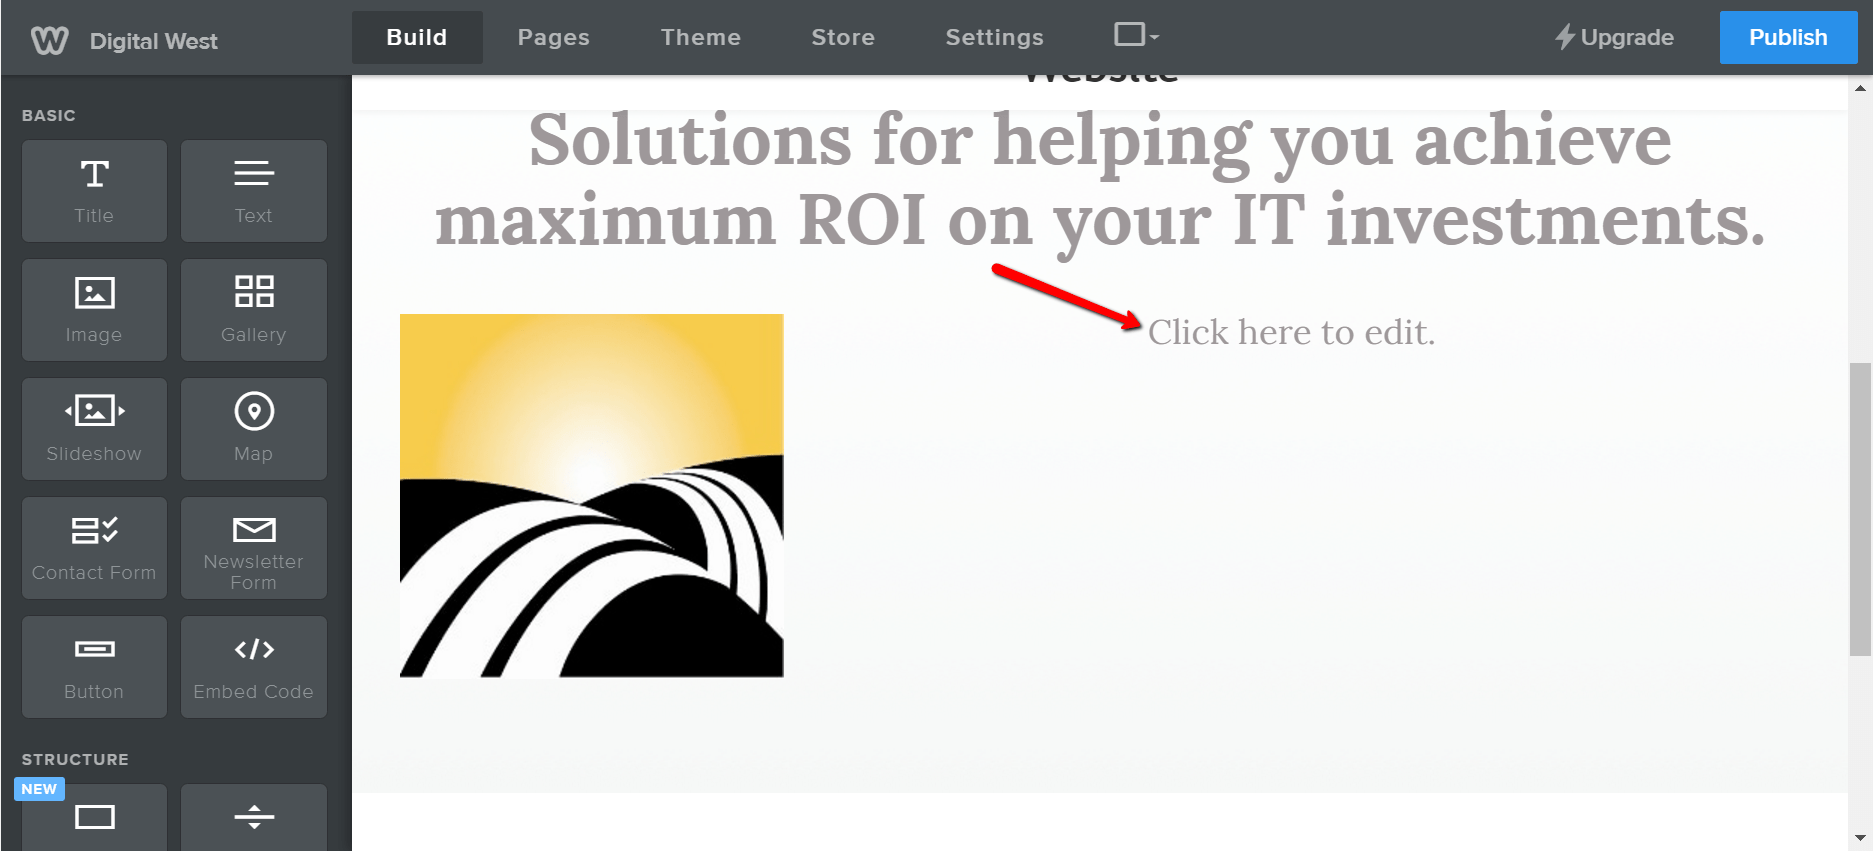
Below is a text area. Click in that area to add your custom text.
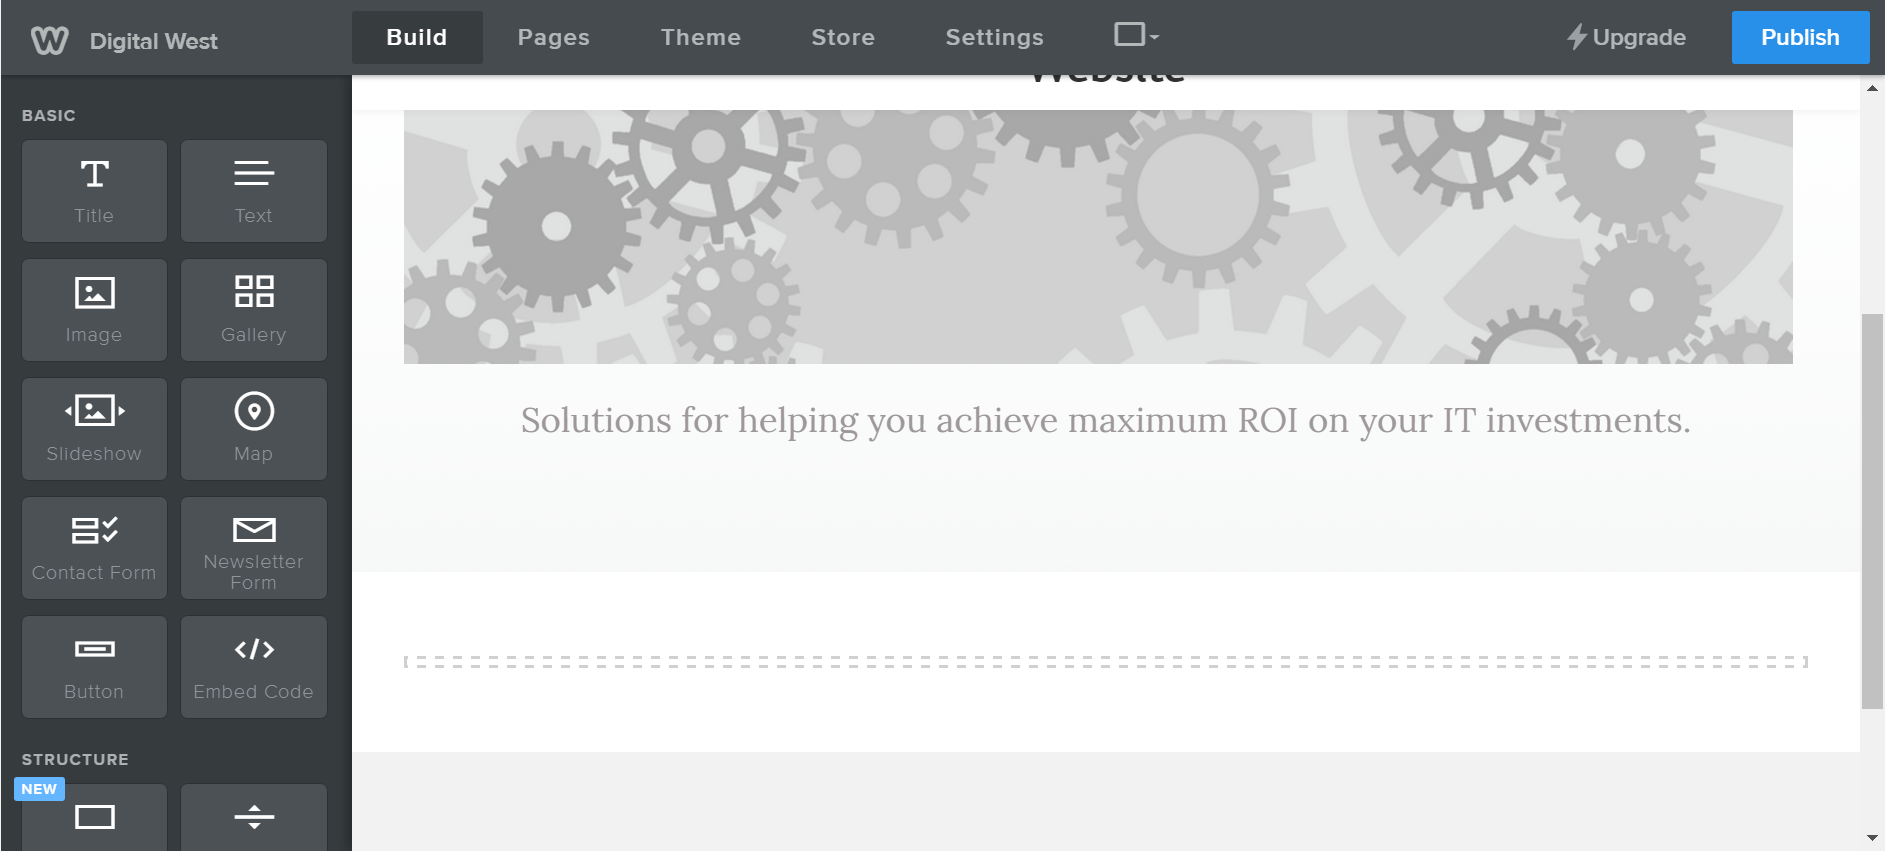
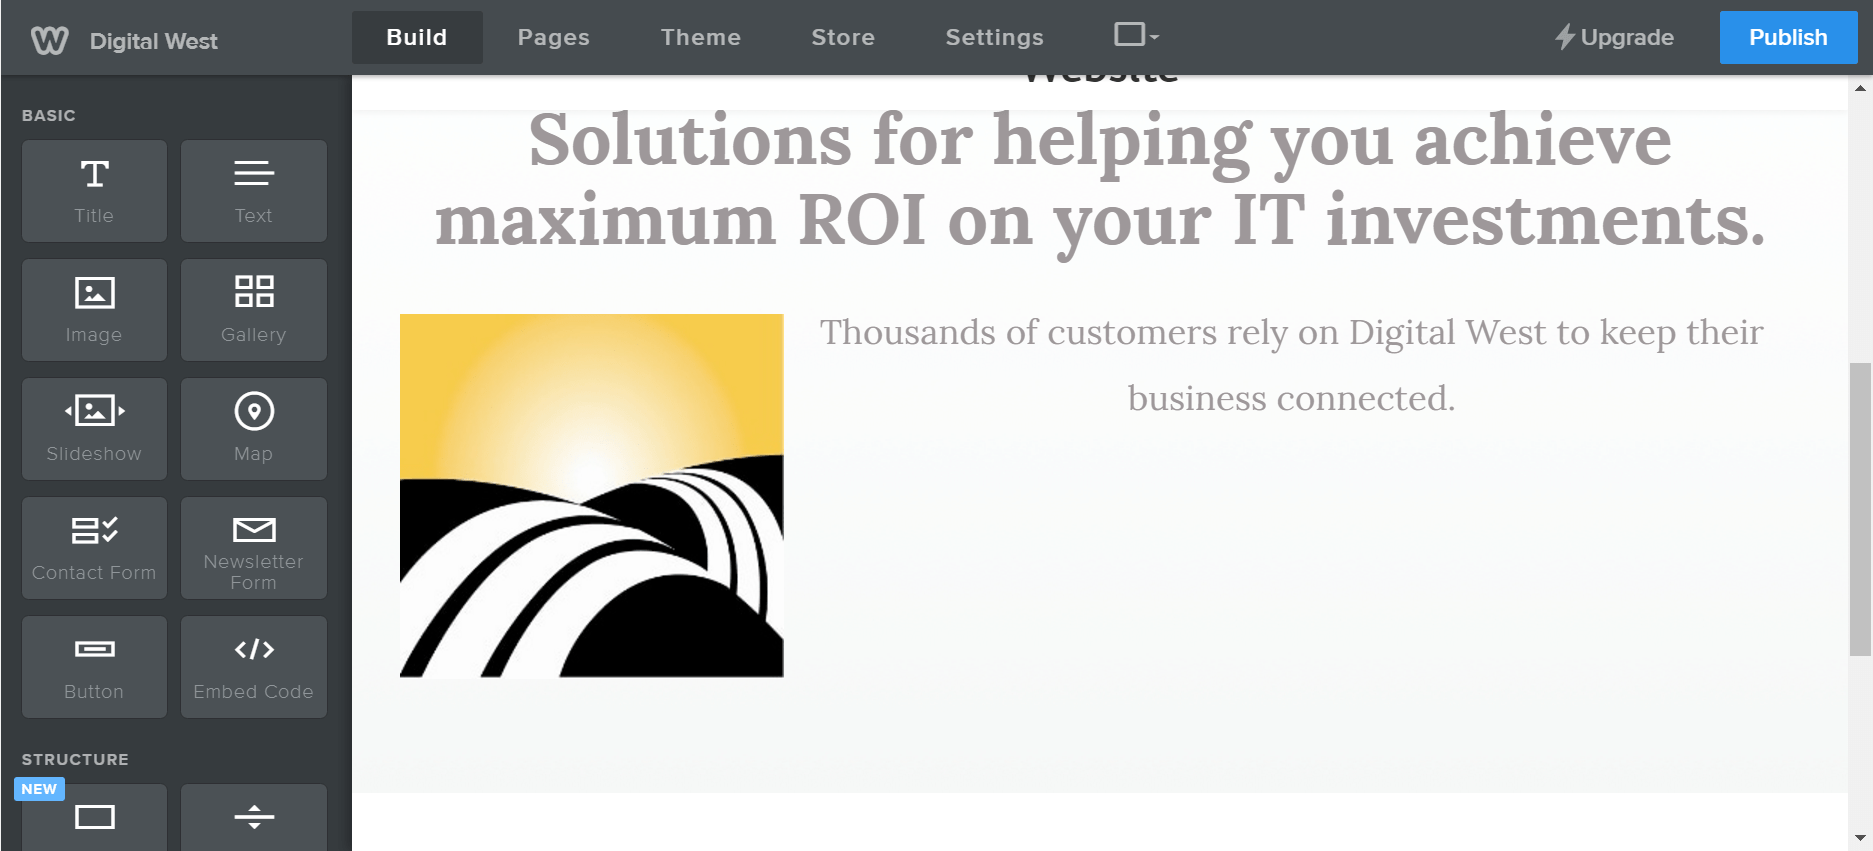
As seen here, we have replaced the original text with custom text from our business.
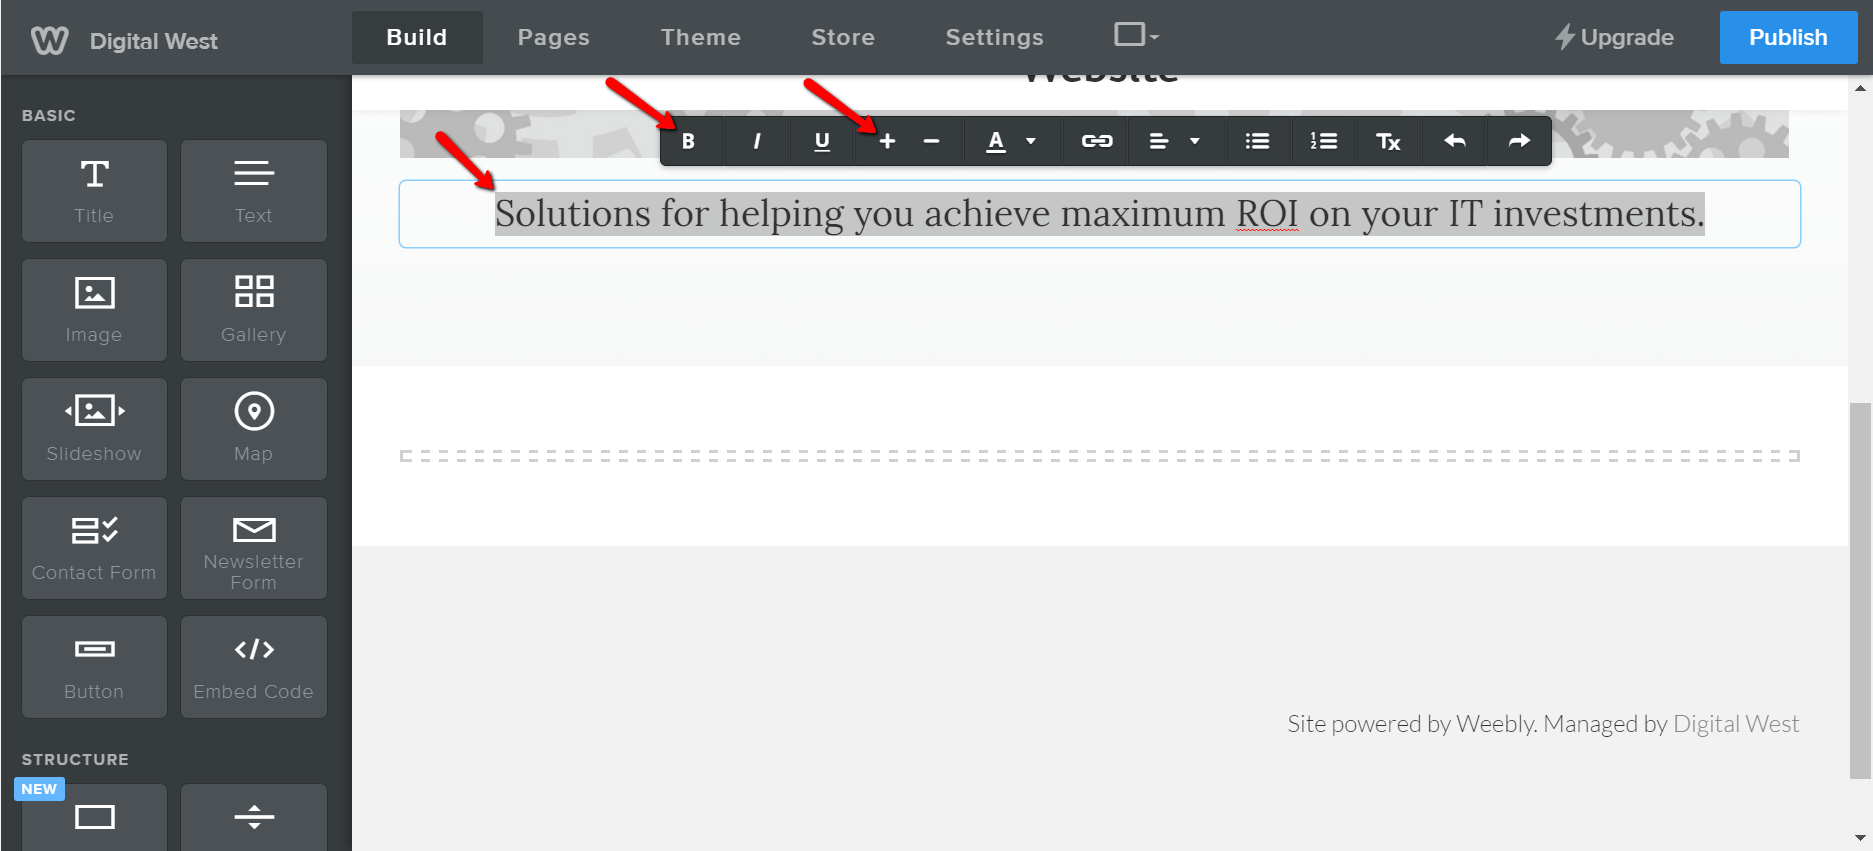
You can highlight your text to edit its style. In this case, we clicked on the ‘B’ button to make the text bold and clicked on the ‘+’ button to make the text larger. You can also change the text color by clicking on the ‘A’ button which will expand with a color pallet.
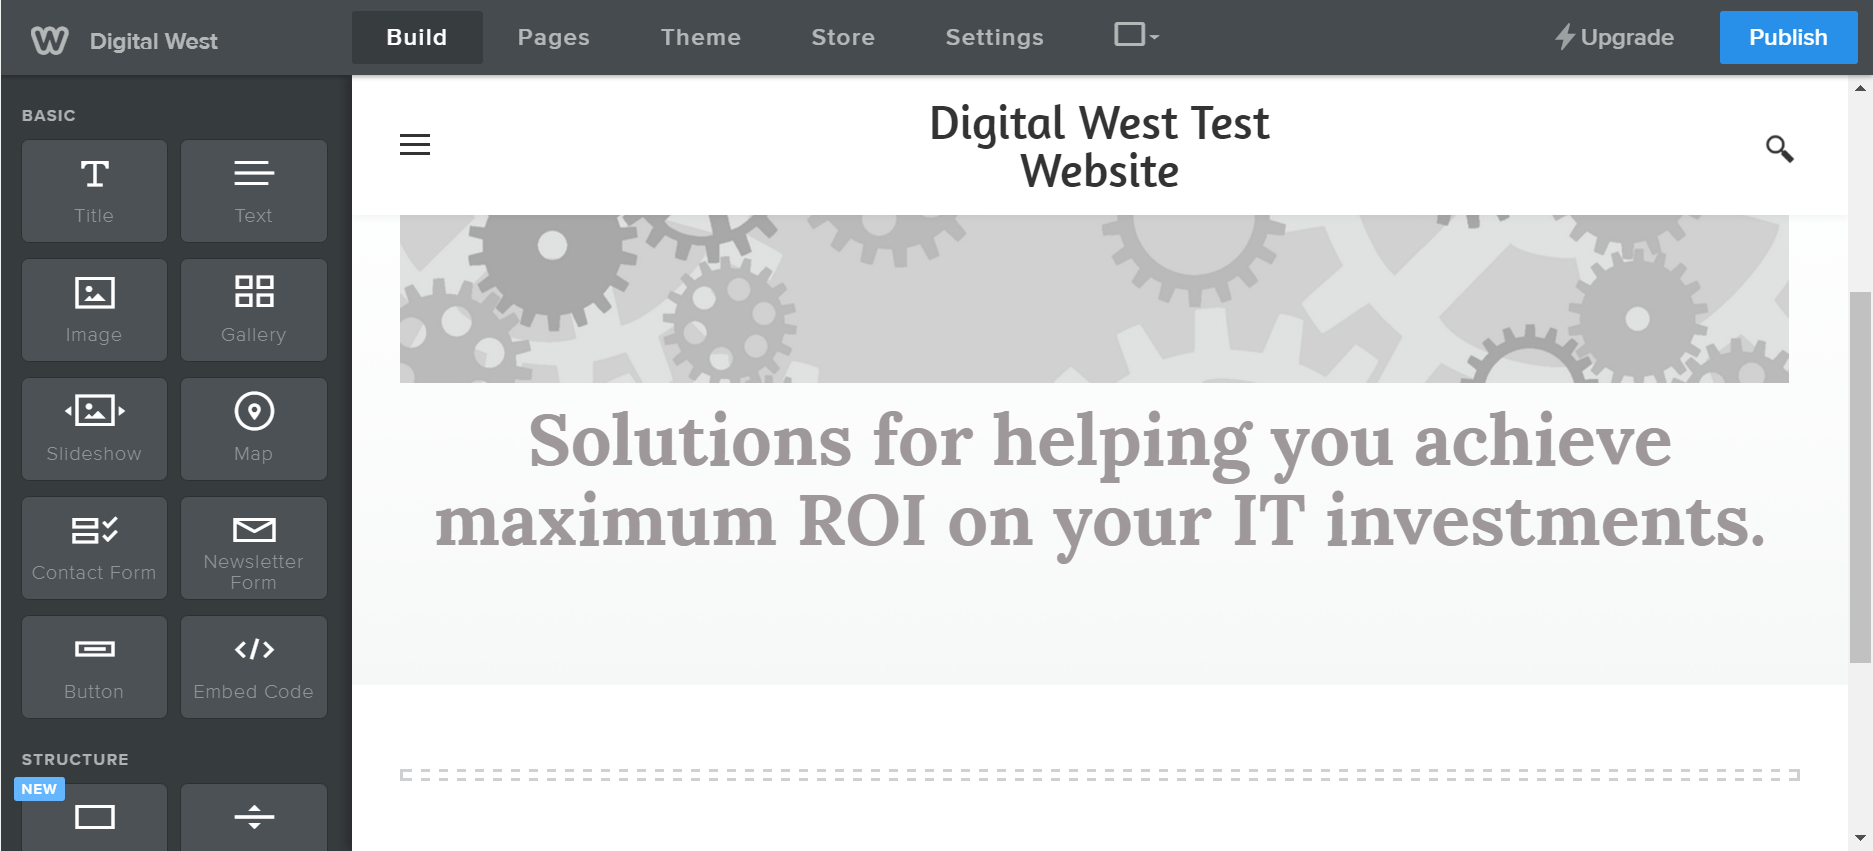
As you can see our text changed to bold and got much larger.
To add an image to your page, click on the image icon on the left and drag it to where you want it on the page.
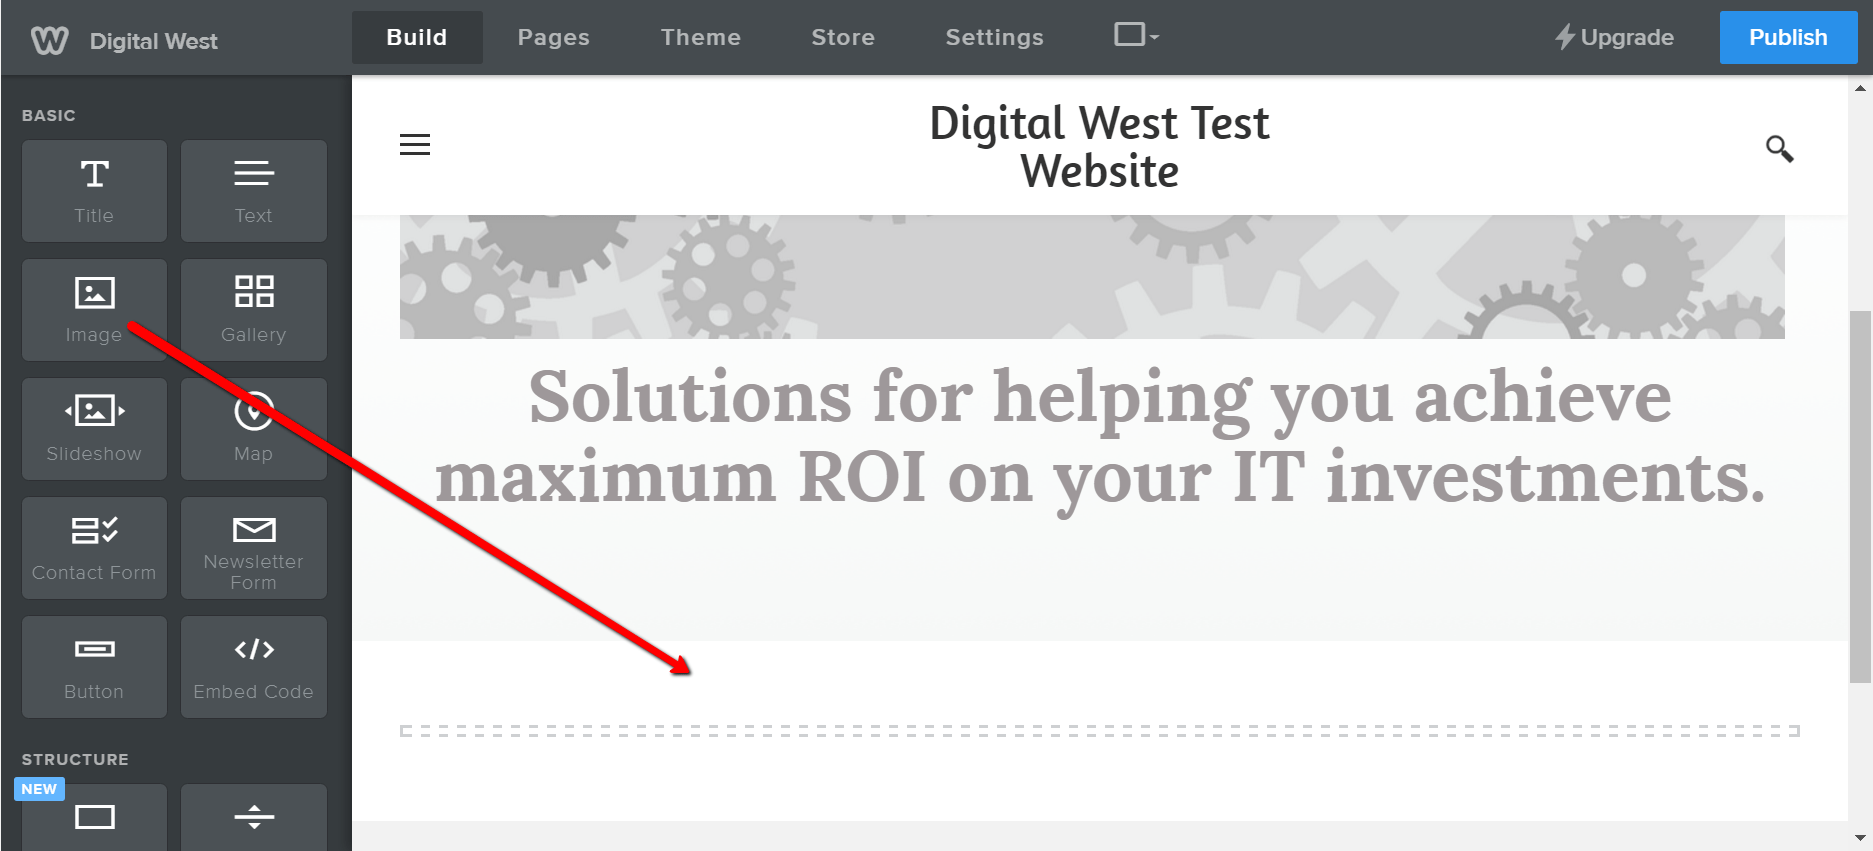
You can now see the space for an image that we can place.
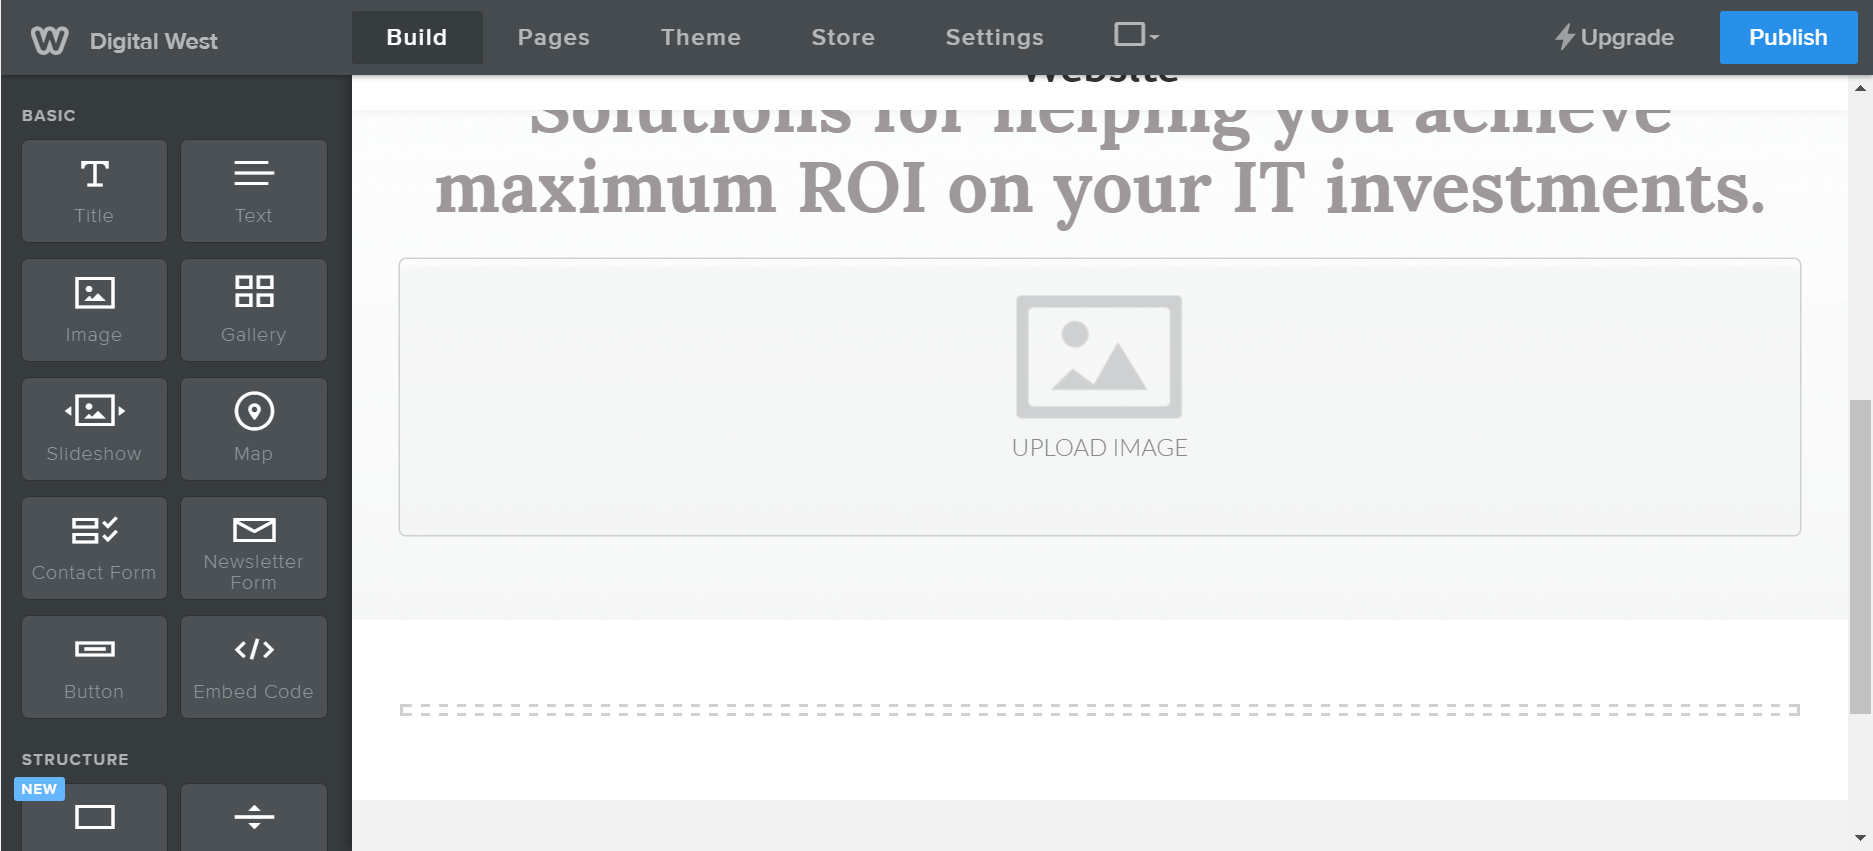
Click on the Upload Image section and this image loader will pop up.
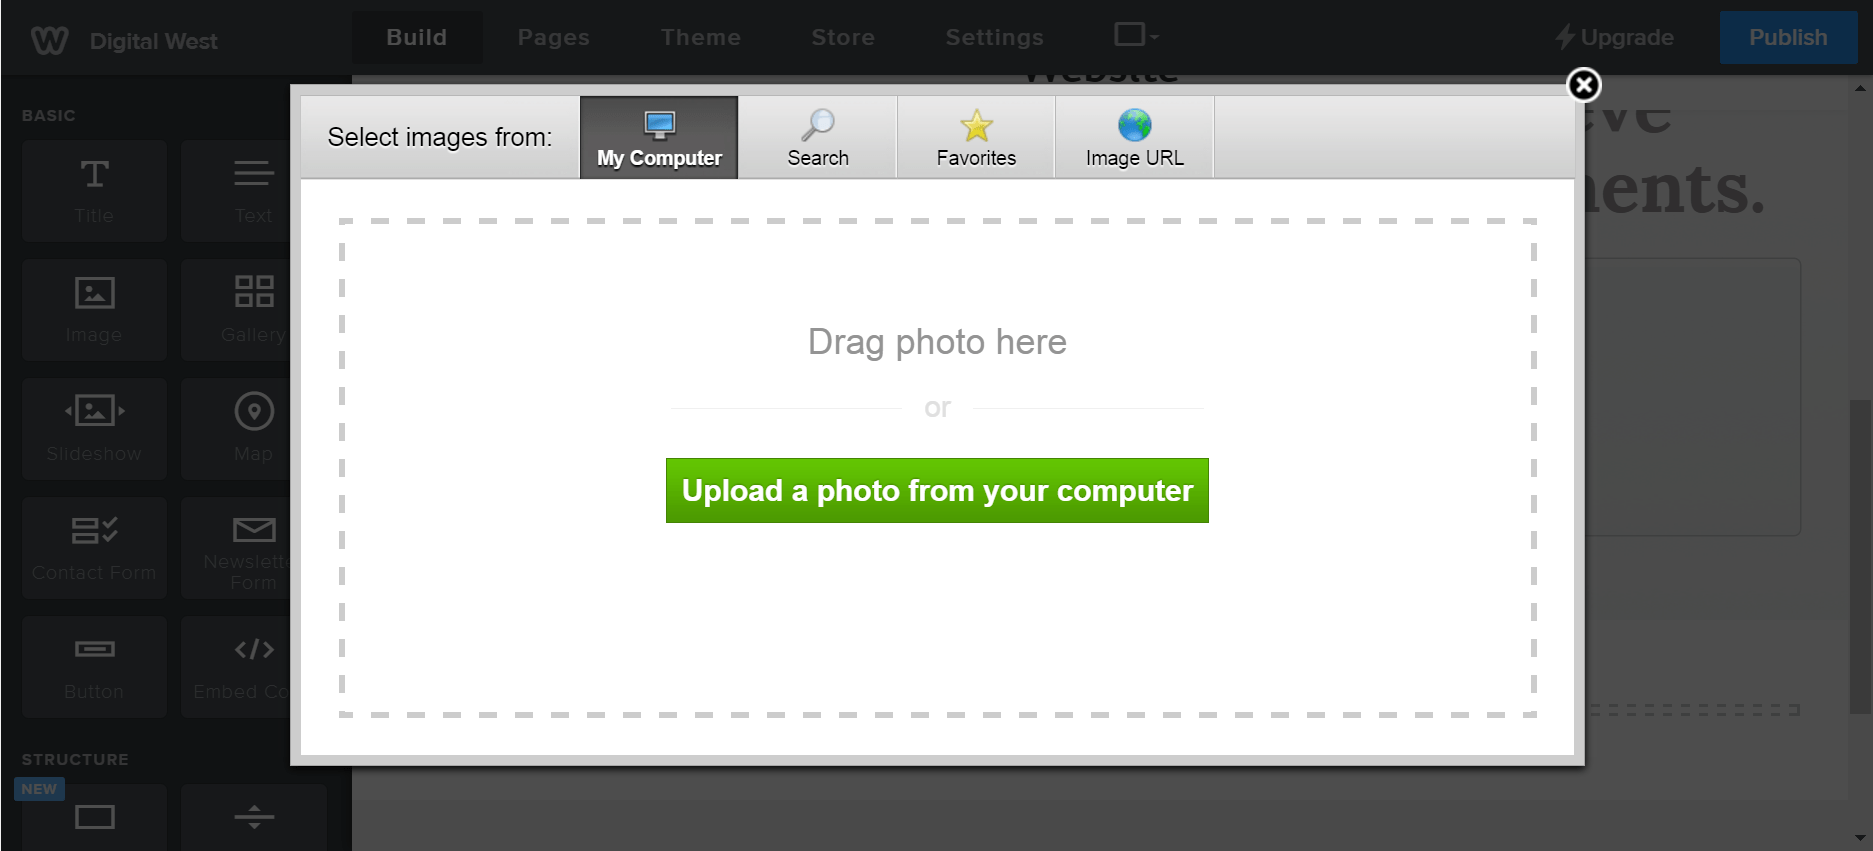
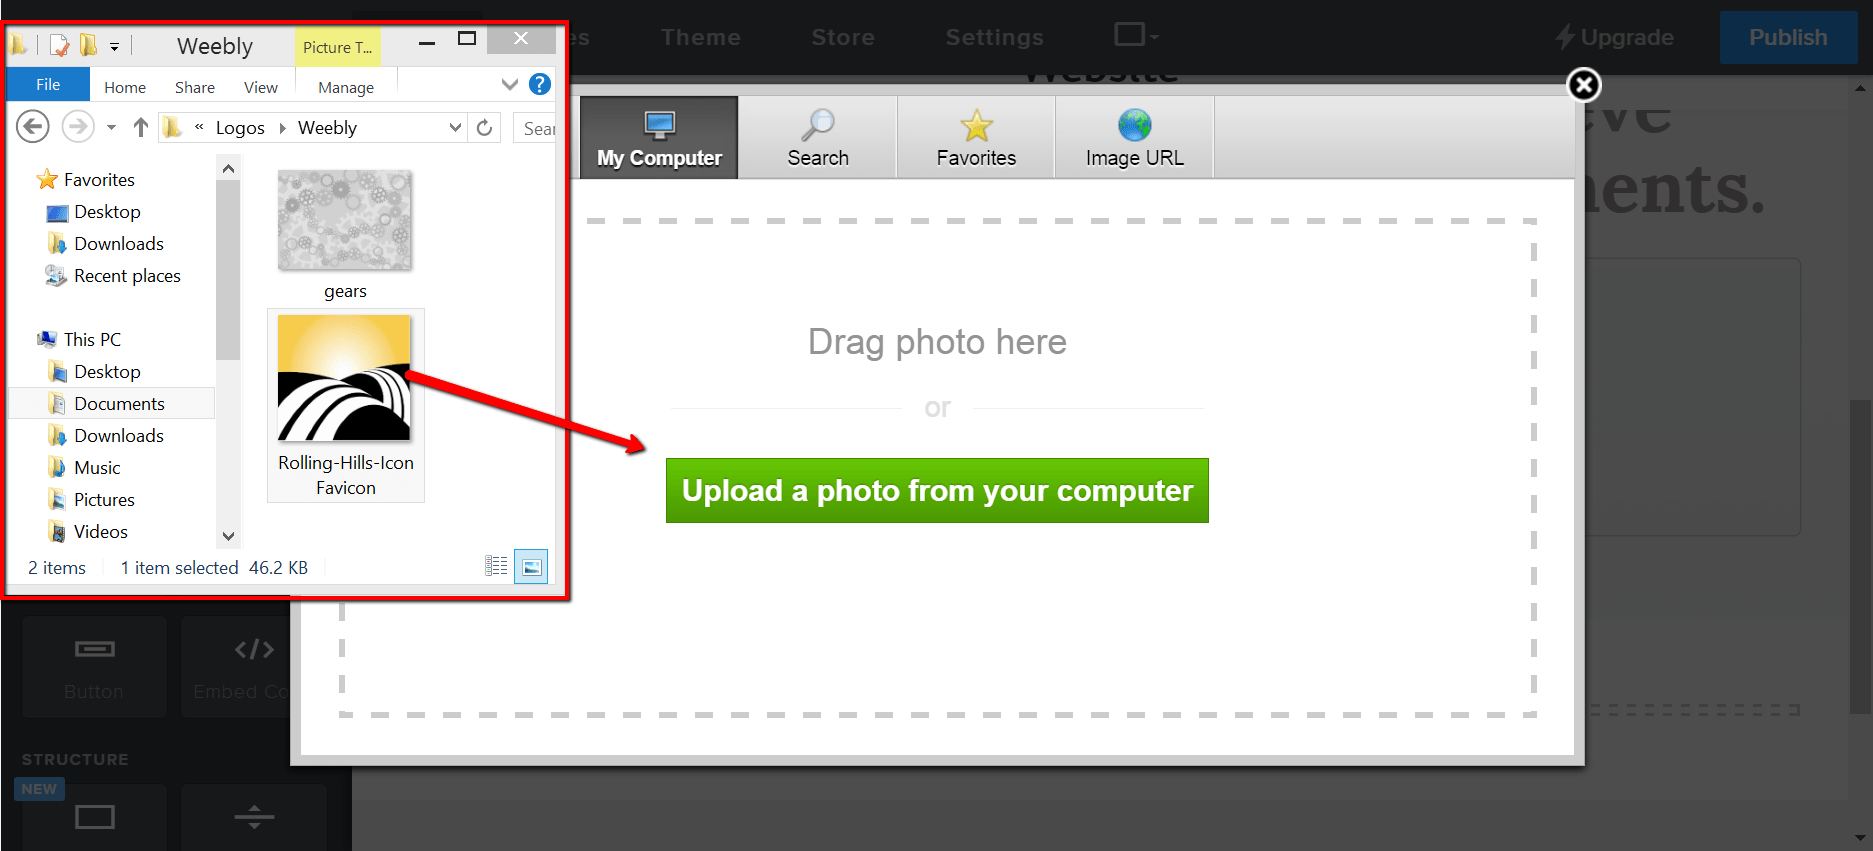
You can now drag an image from your computer into that section on your page.
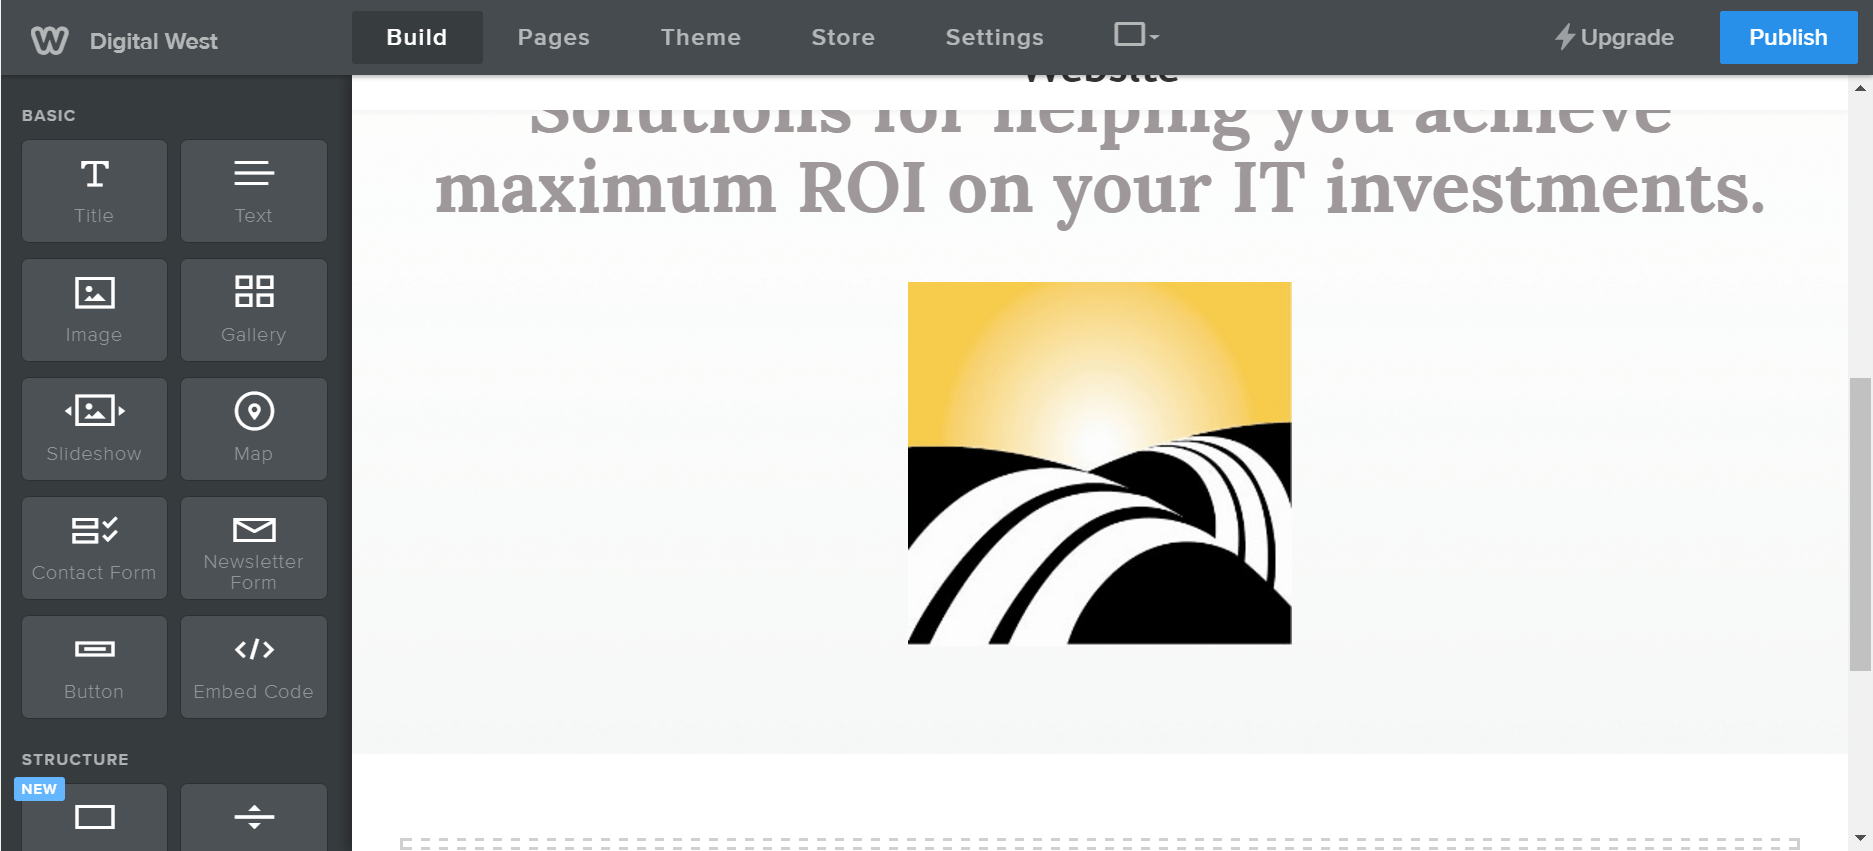
Our image now appears on the page in the middle of the section we created for it.
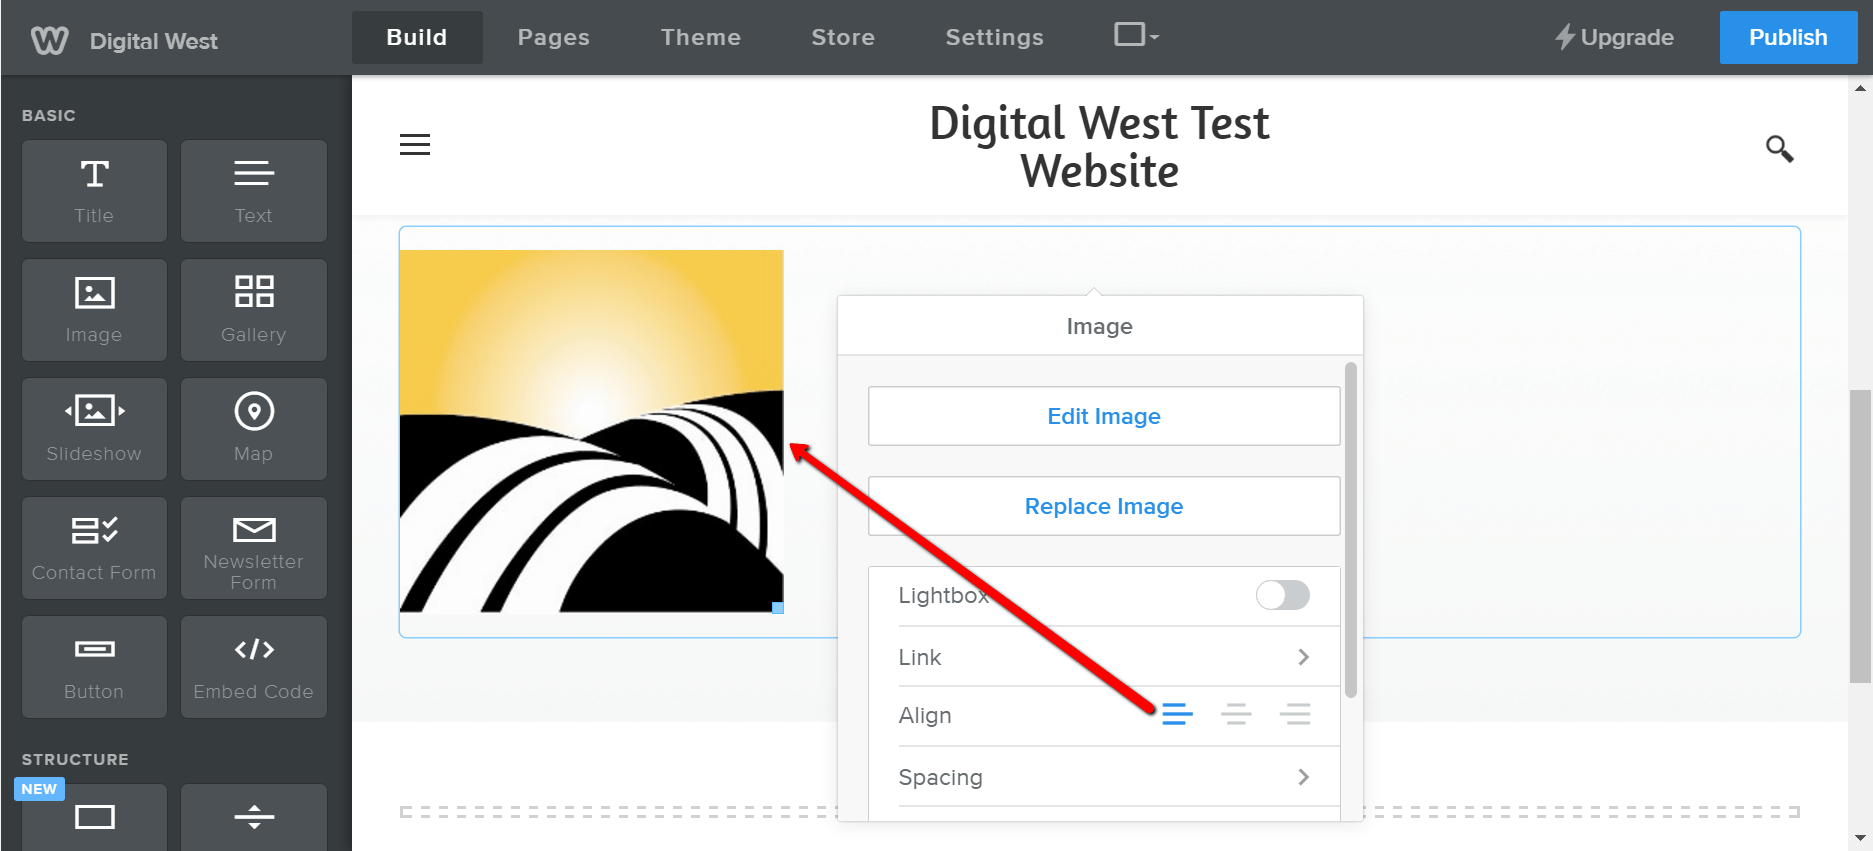
If you want to move the image to a different area of the section, like the image above, you can hover over it and click the ‘X’ that appears in the upper right hand corner.
Hovering over the image will give you the ability to edit the settings of the image. In this case we are setting it to be left-aligned.
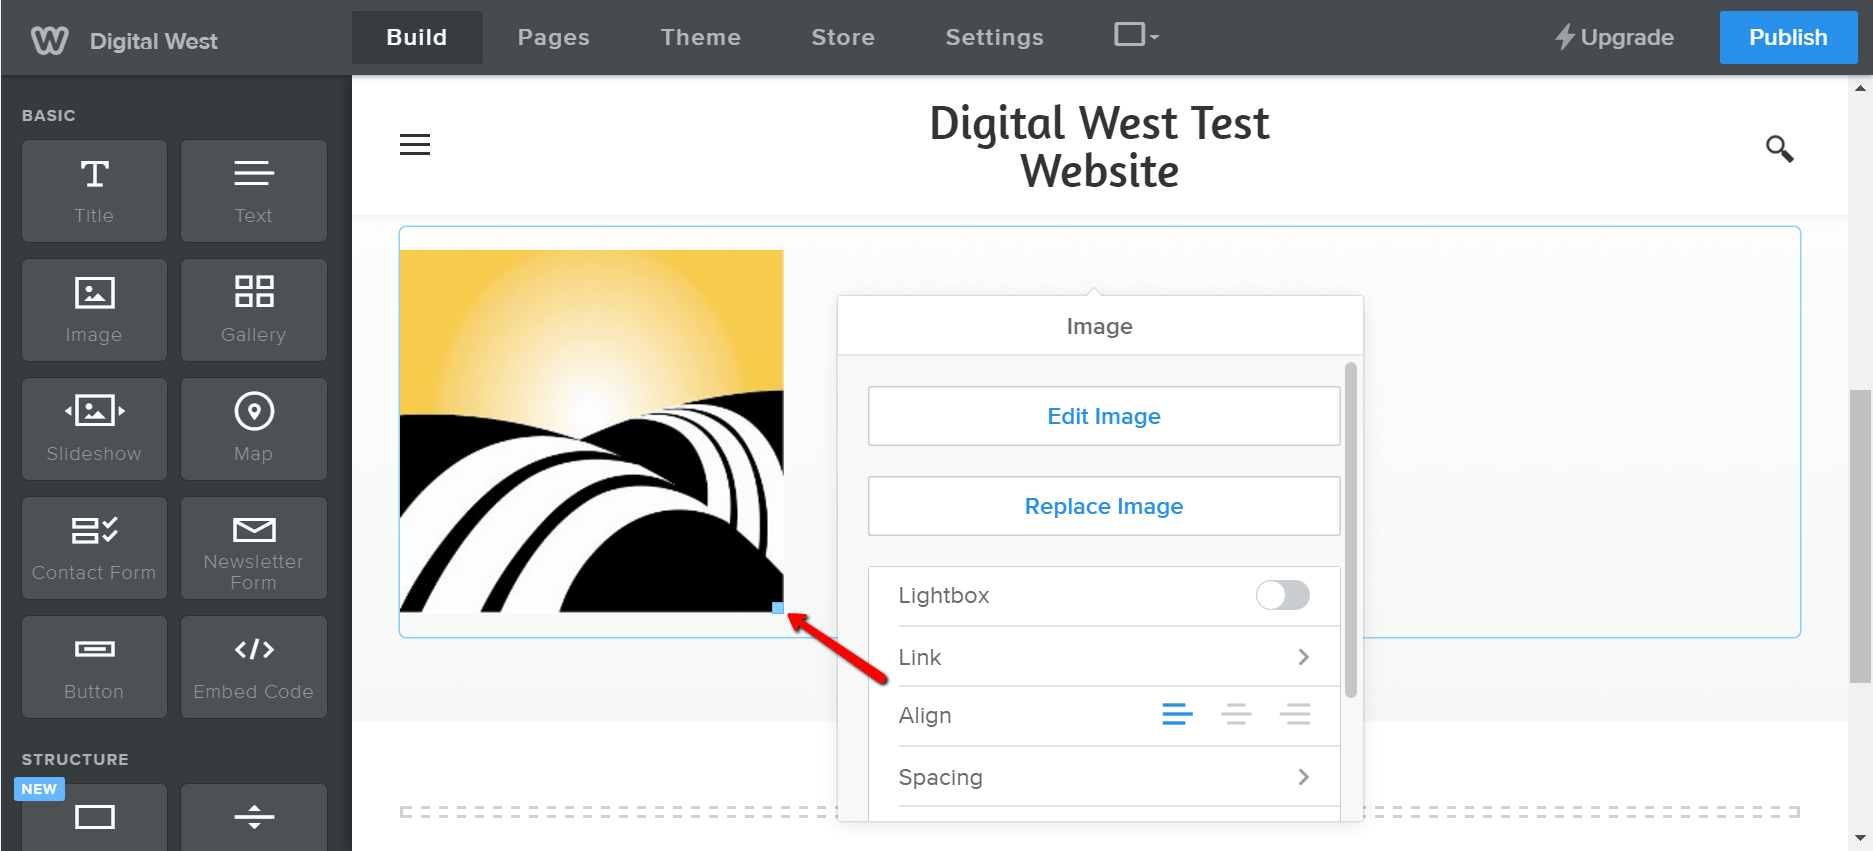
Resize the image by clicking on the blue square that appears on the lower edge of the image and dragging the image to make it either smaller or larger.
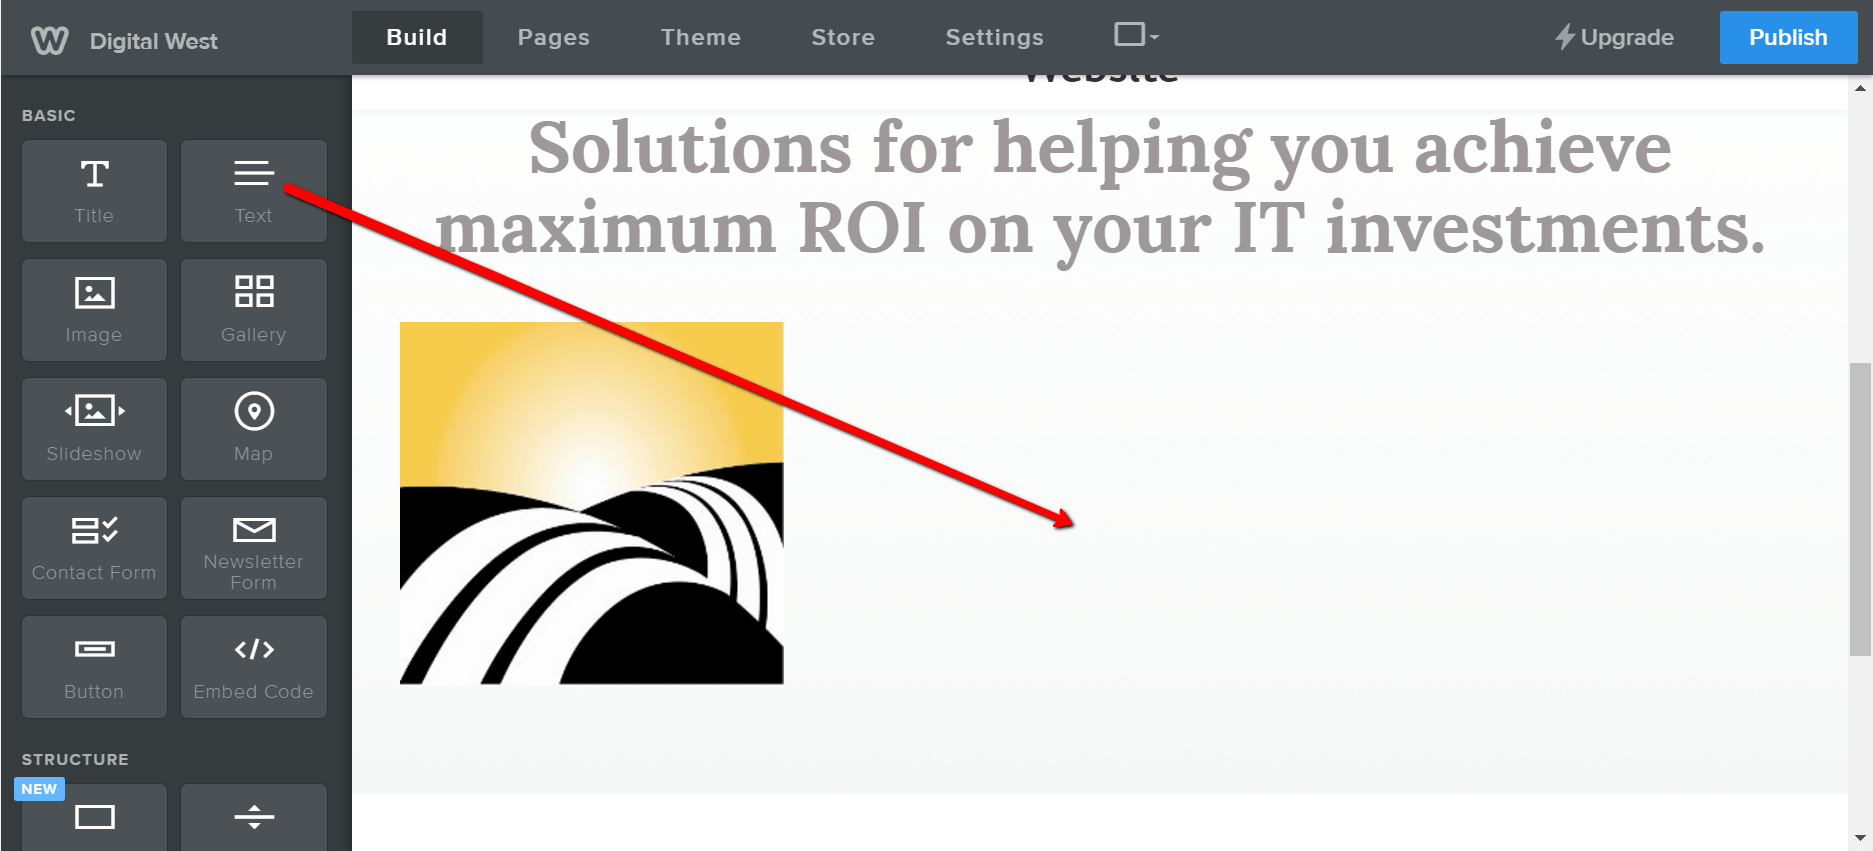
To add some text next to the image, you can drag the text icon to the right of the image we just placed.
Now that we have an area for that text, we can click on that section to add in our custom text.
As you can see below, we entered text and center-aligned it.
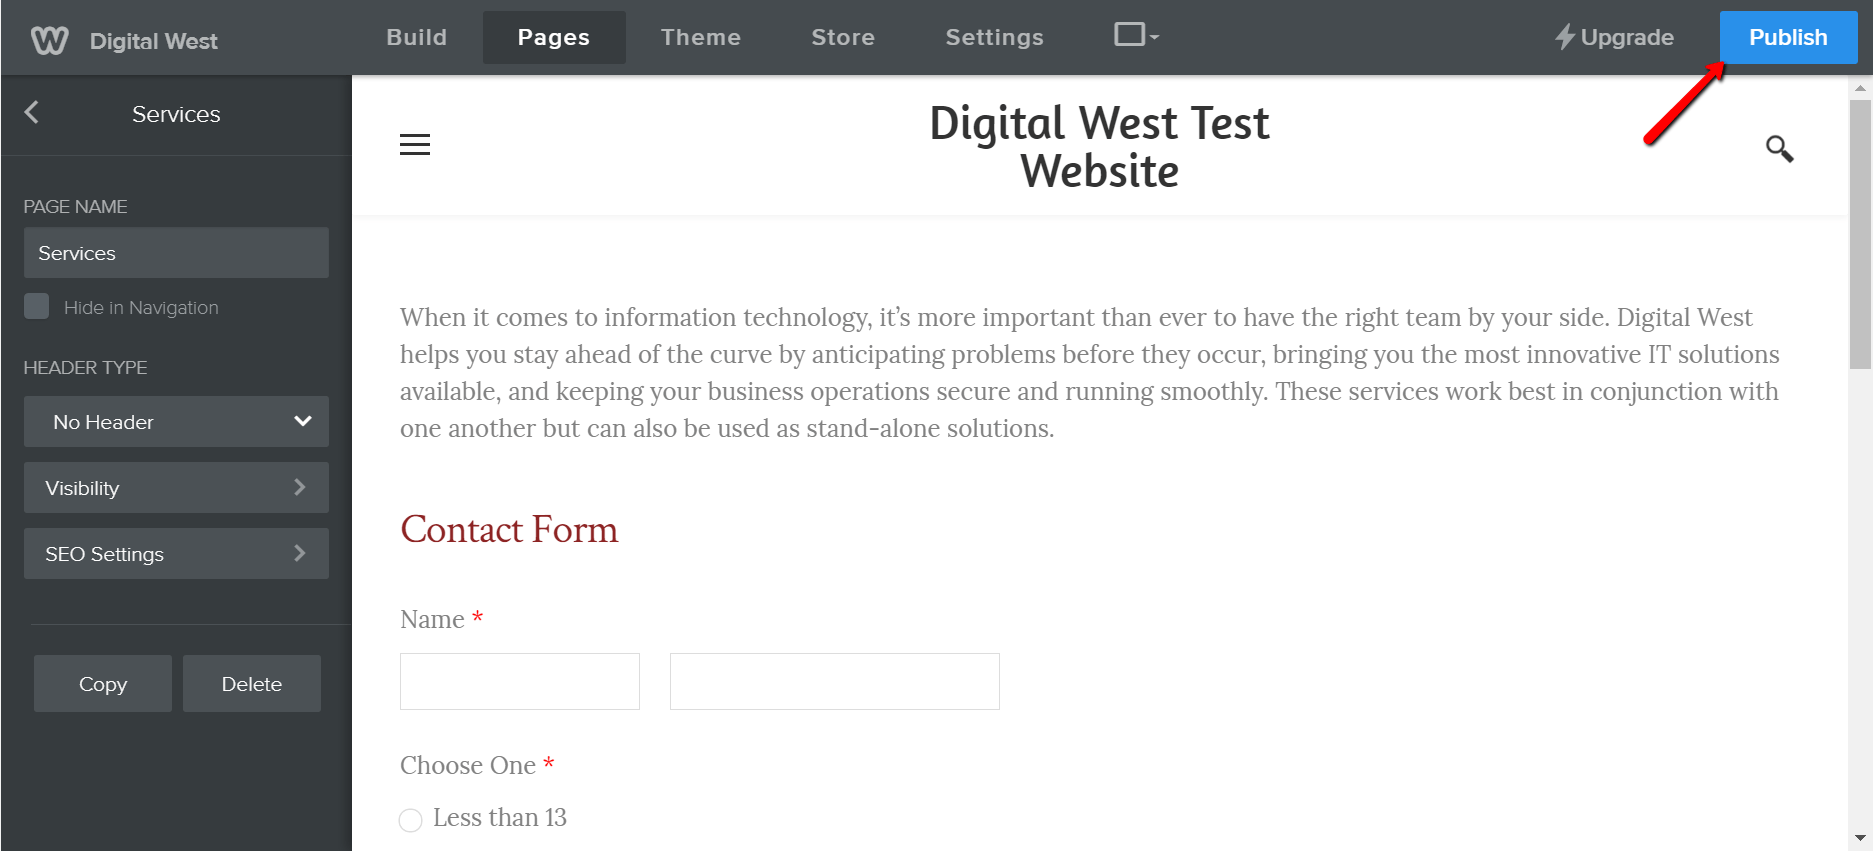
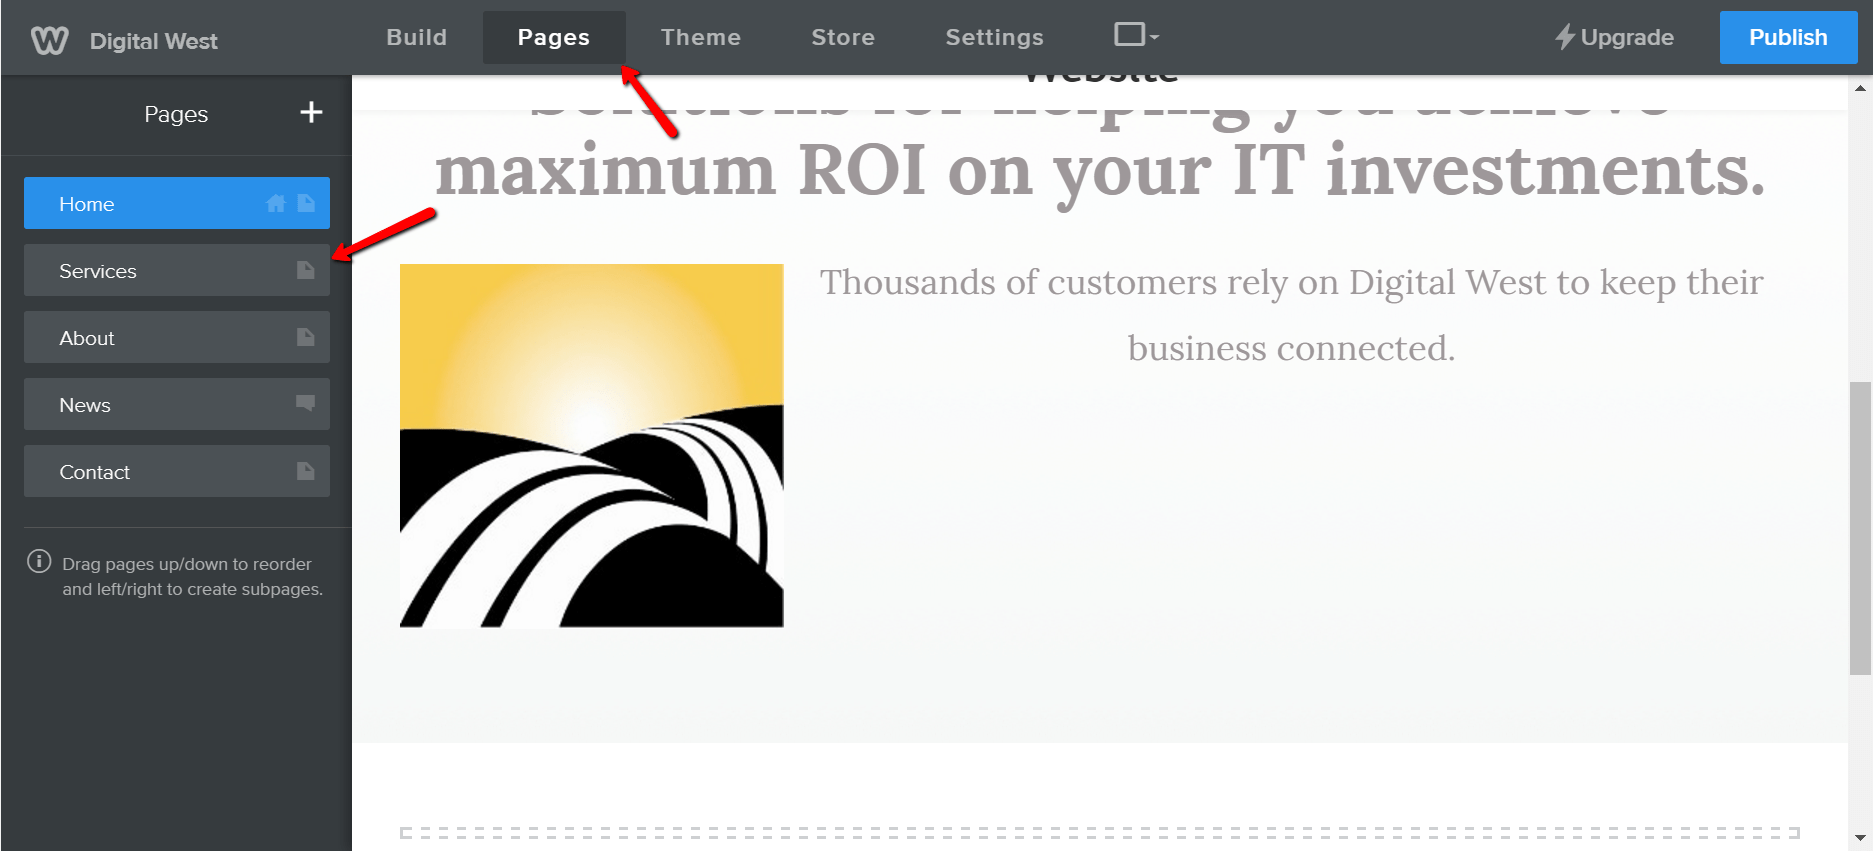
To edit another page, click on the Pages button in the top navigation of the website. Then click the name of the page you want to edit. In this case we click on the Services button to edit that page.
To edit the Services page we will need to click back on the ‘Build’ button in the top nav.
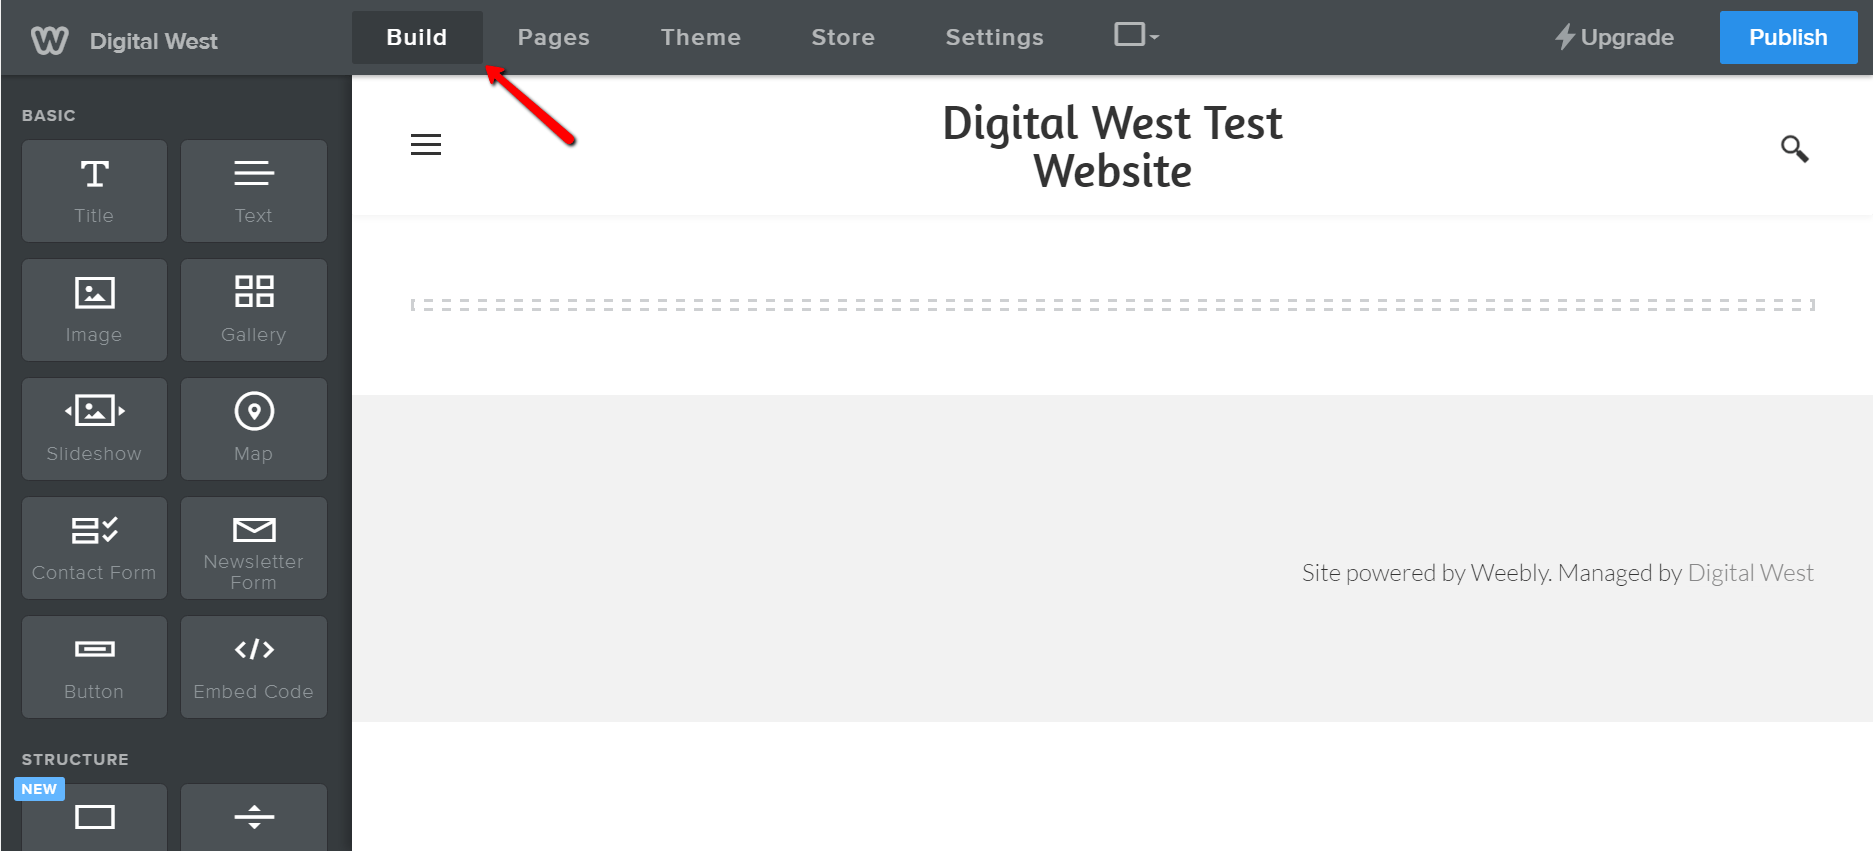
We will start out by adding the text element to the page by dragging the text button to the editor area. When dragging an element onto the page, drag it to the area that turns blue while dragging that element. In this case, the space between the dotted lines will turn blue and allow you to drop the ‘Text’ element into that location.

After adding the text area, we pasted in the content for our ‘Services’ page.

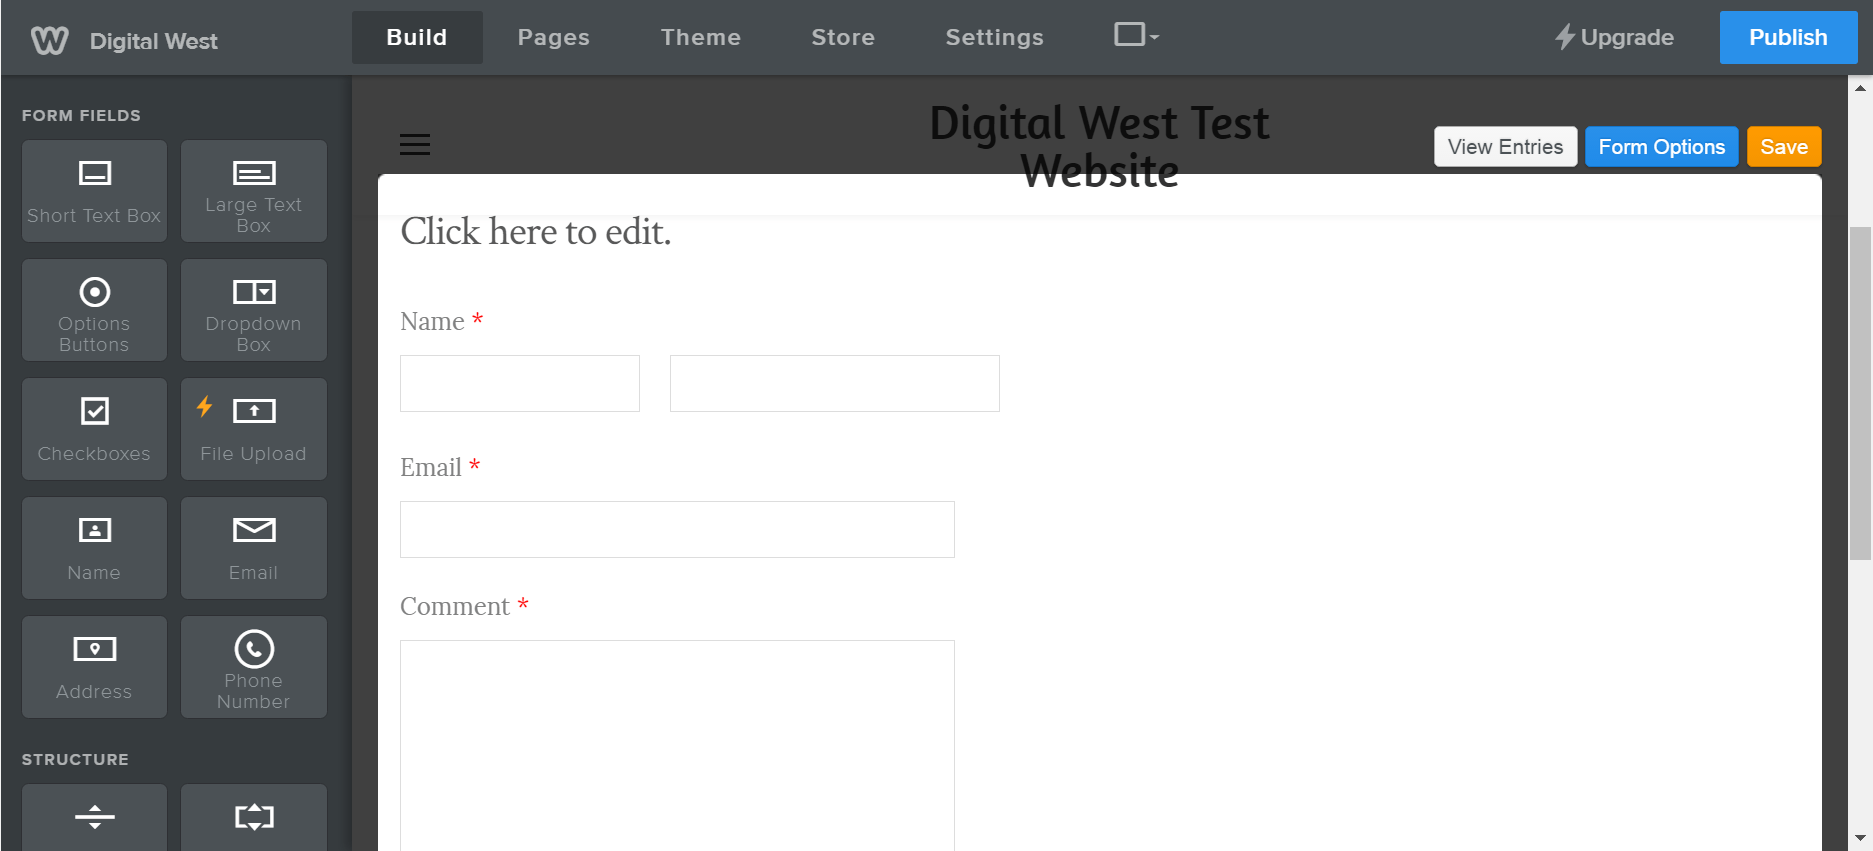
You can add a form to your page by dragging the form elements from the sidebar into an available spot on the page.

Here is how the form will look on the page. Clicking the form will allow you to edit it.
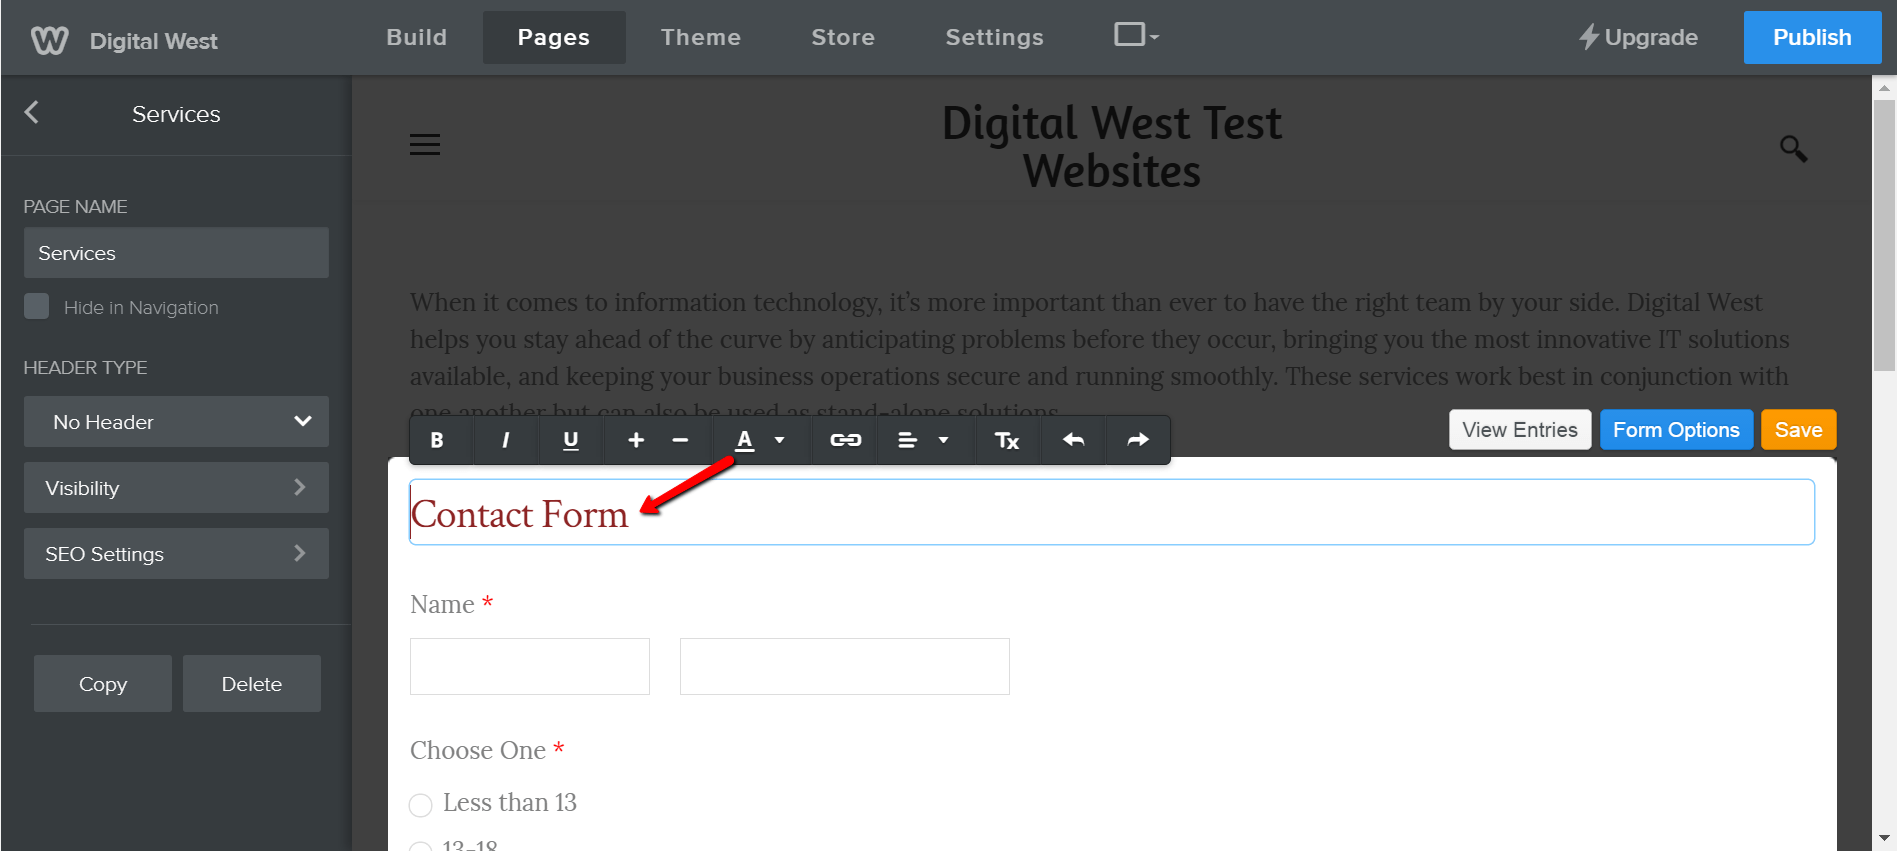
Click on the title to edit the text at the top of the form. You will have the same abilities to edit the text style that you would in any text content area. In this case we changed the color to red by clicking on the ‘A’ button and selecting the color red.
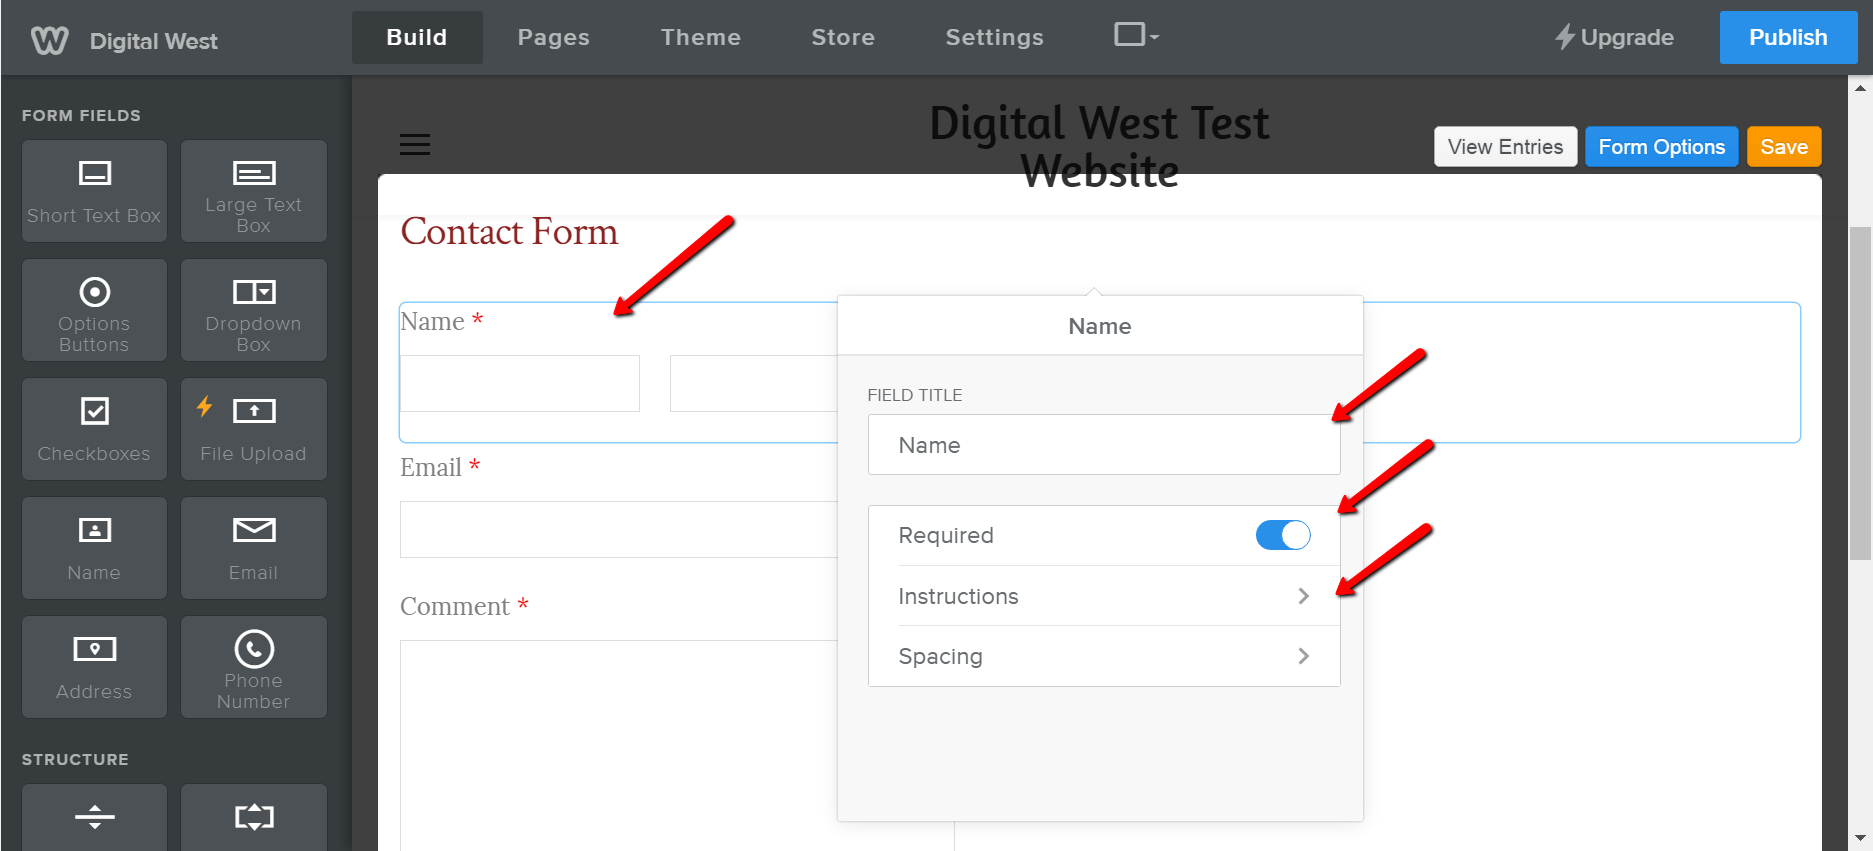
To edit a form field such as the ‘name’ field, click on that field. A pop-up editor will appear. You can change the name of your field, make the field a required field that must be filled out in order to be able to submit the form, and/or put in text instructions to explain expected form value to the user.
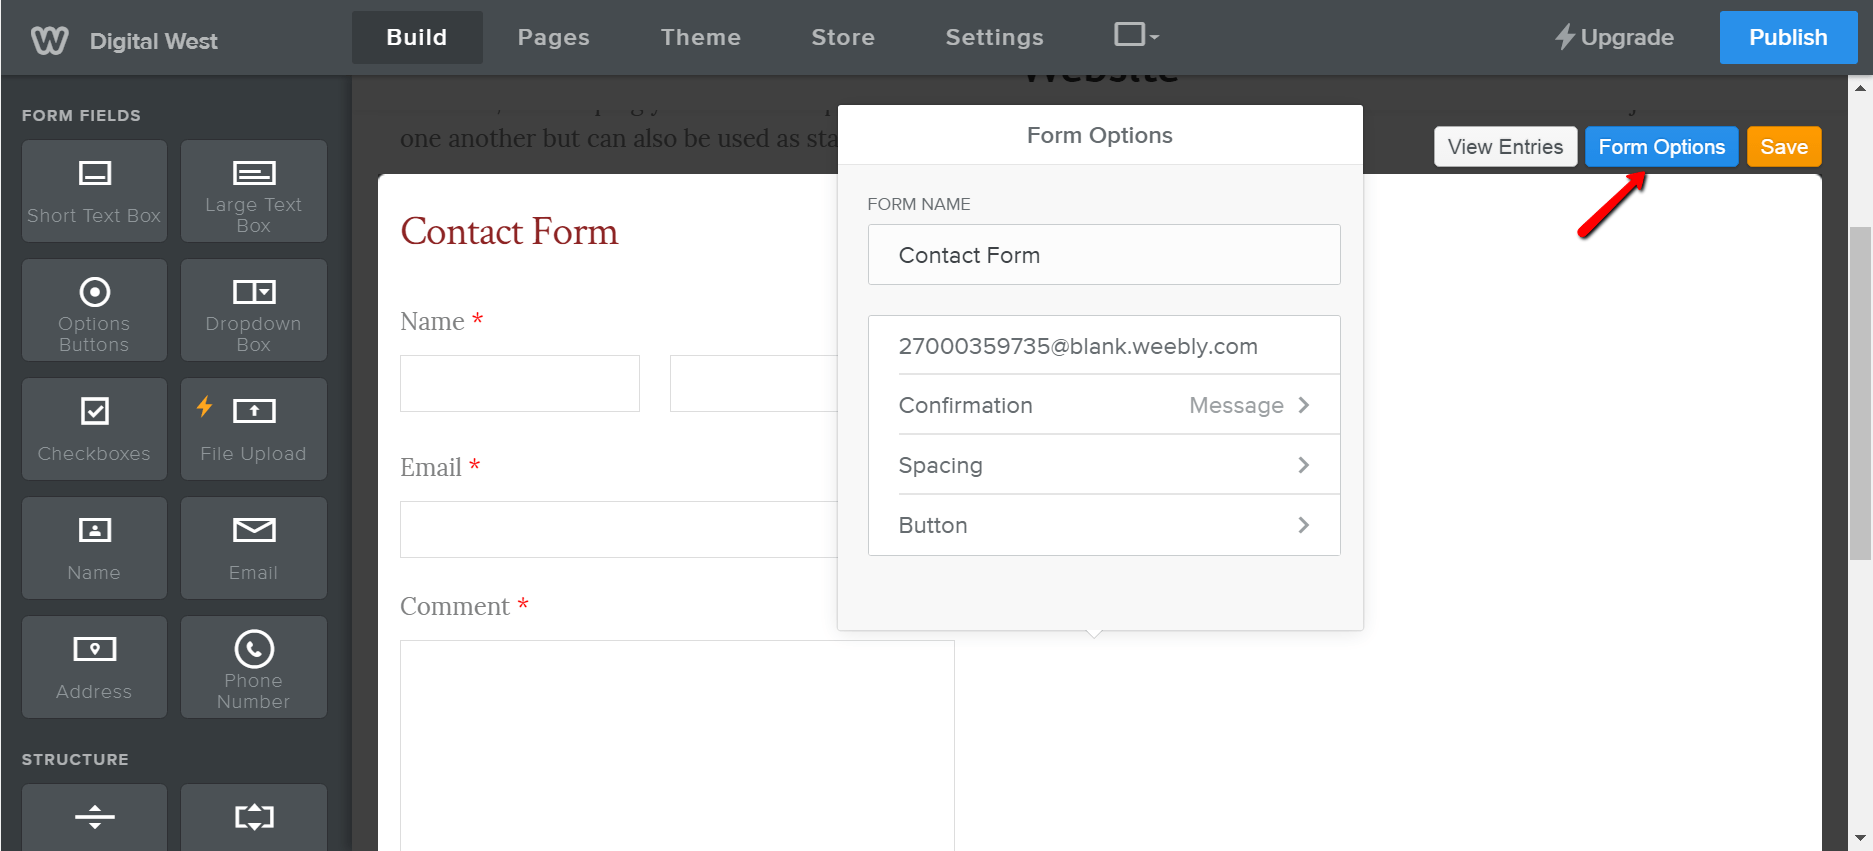
To change the form settings, click on the blue ‘Form Options’ button. You will be able to name your form, set the email address where you want receive the form information, as well as the text that you want on the submit button.
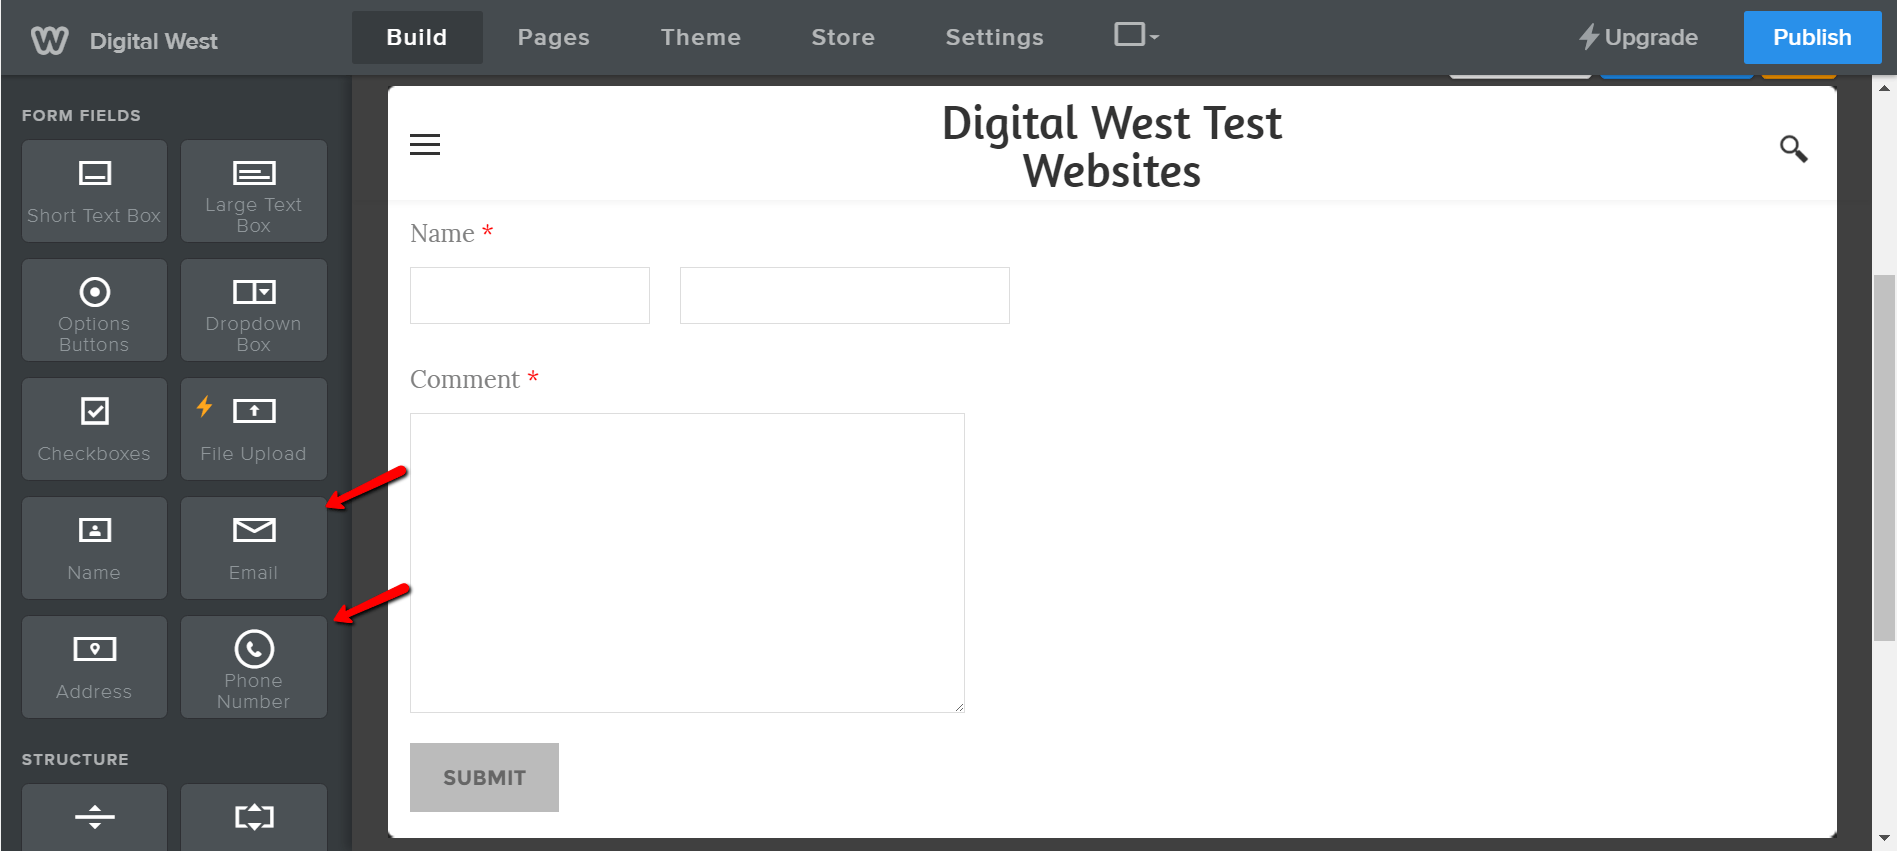
To add a form field, choose the type of form field you want to add, such as radio buttons, a drop down selector, a large text box, etc. and drag your chosen field where you want it in your form. Some form fields are fairly specific, such as the email or address, and will come with some extra settings and functionality.
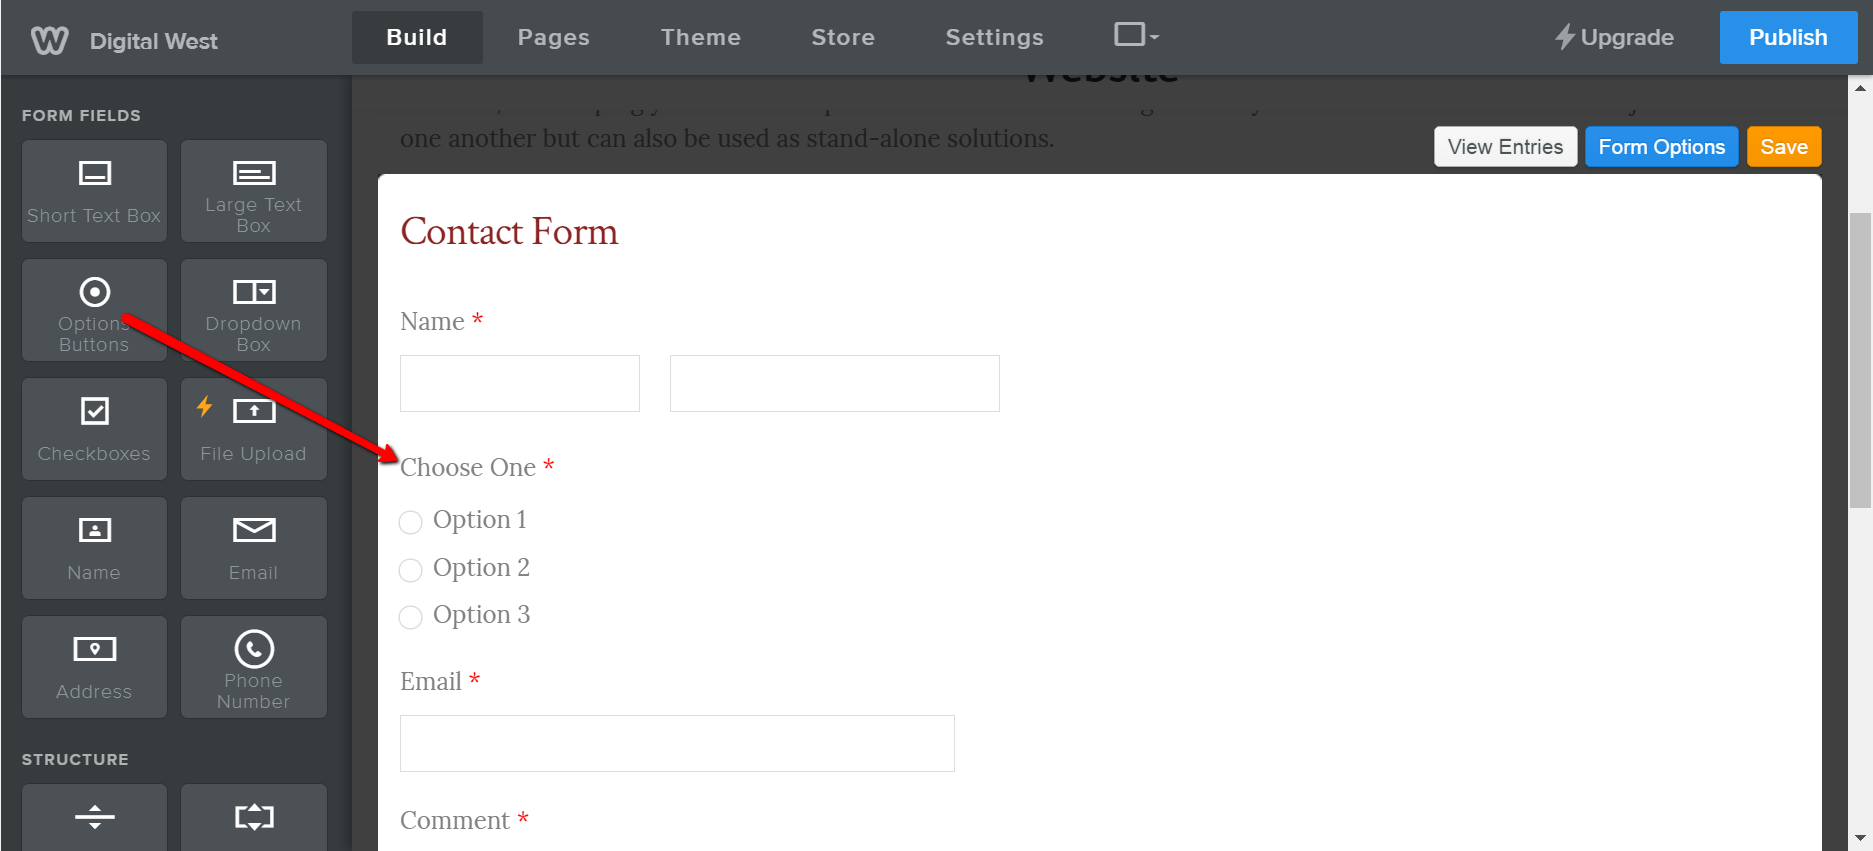
Some forms have pre-defined definitions that you can select to save yourself some time. For instance, we will add a set of buttons that will allow the user to put in their age. First we drag that field into the form area.
Now we click on the form field to bring up the pop-up options box.
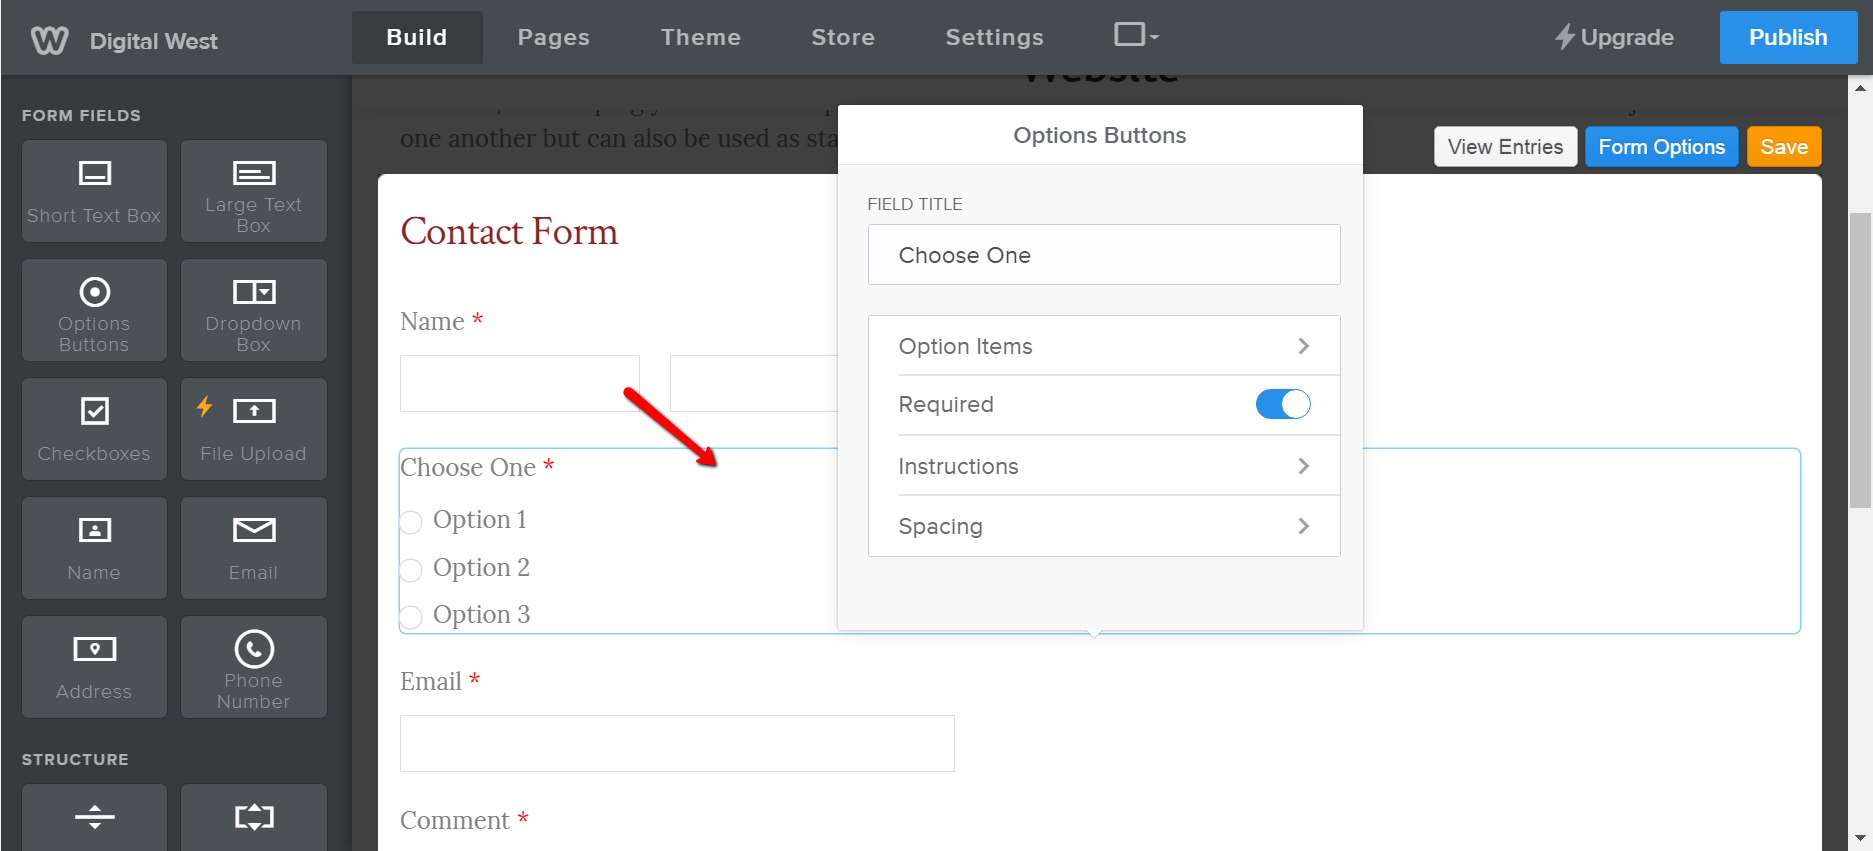
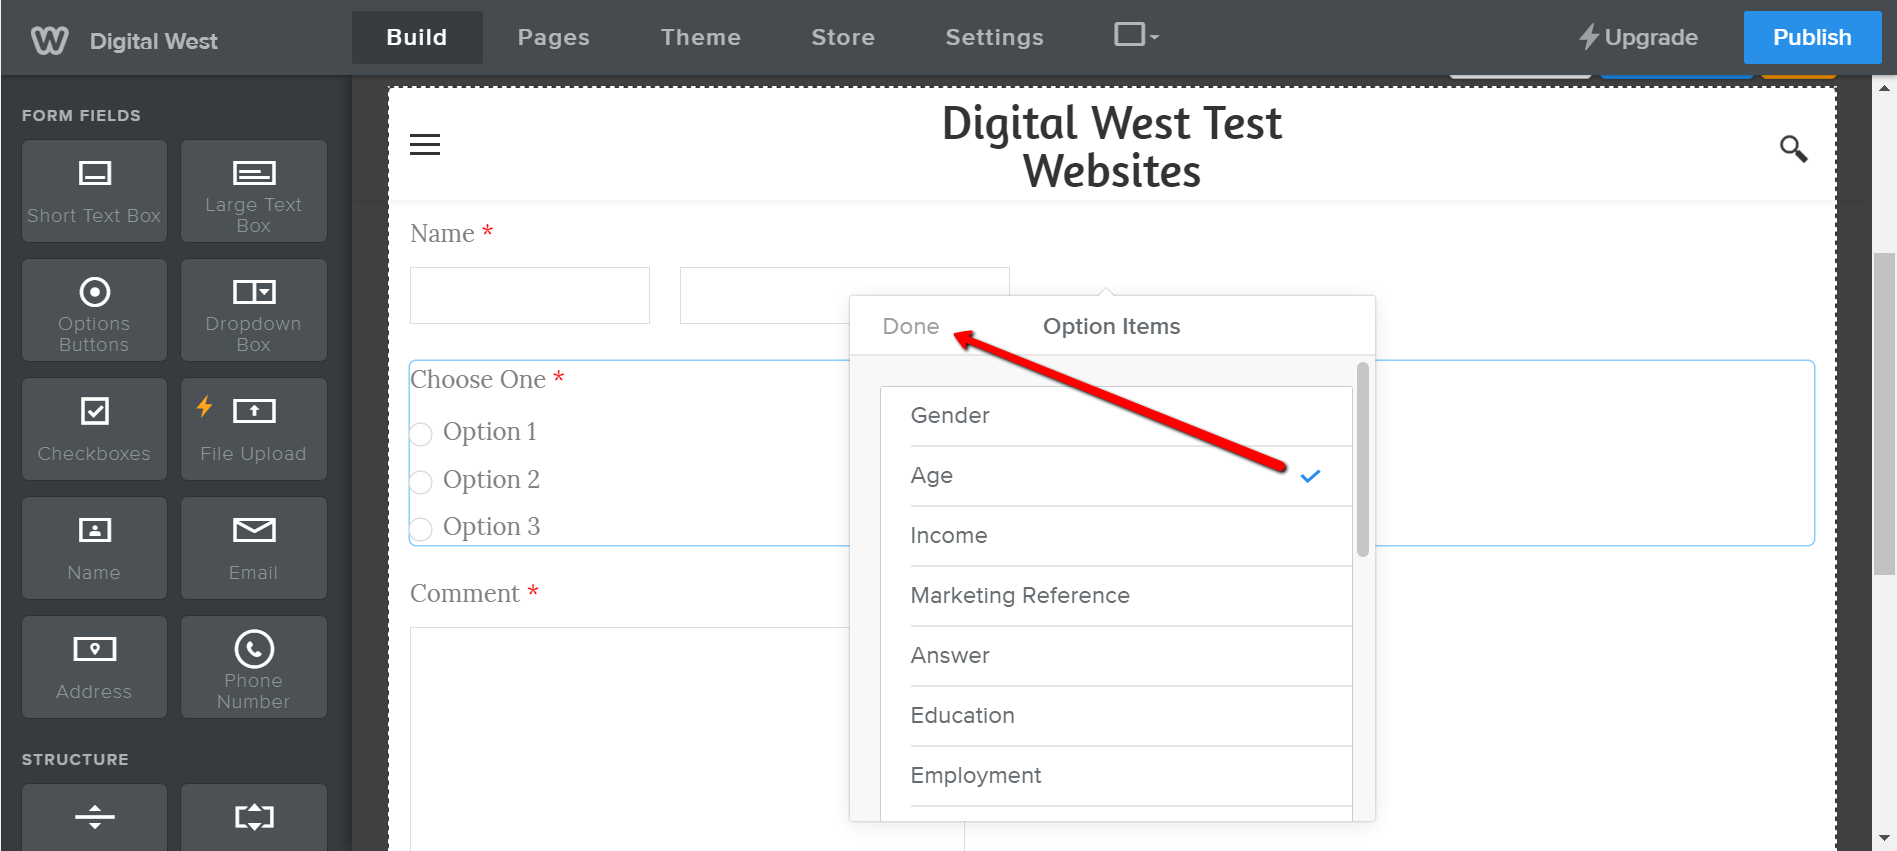
Next we click on the ‘Option Items’ to set the values.

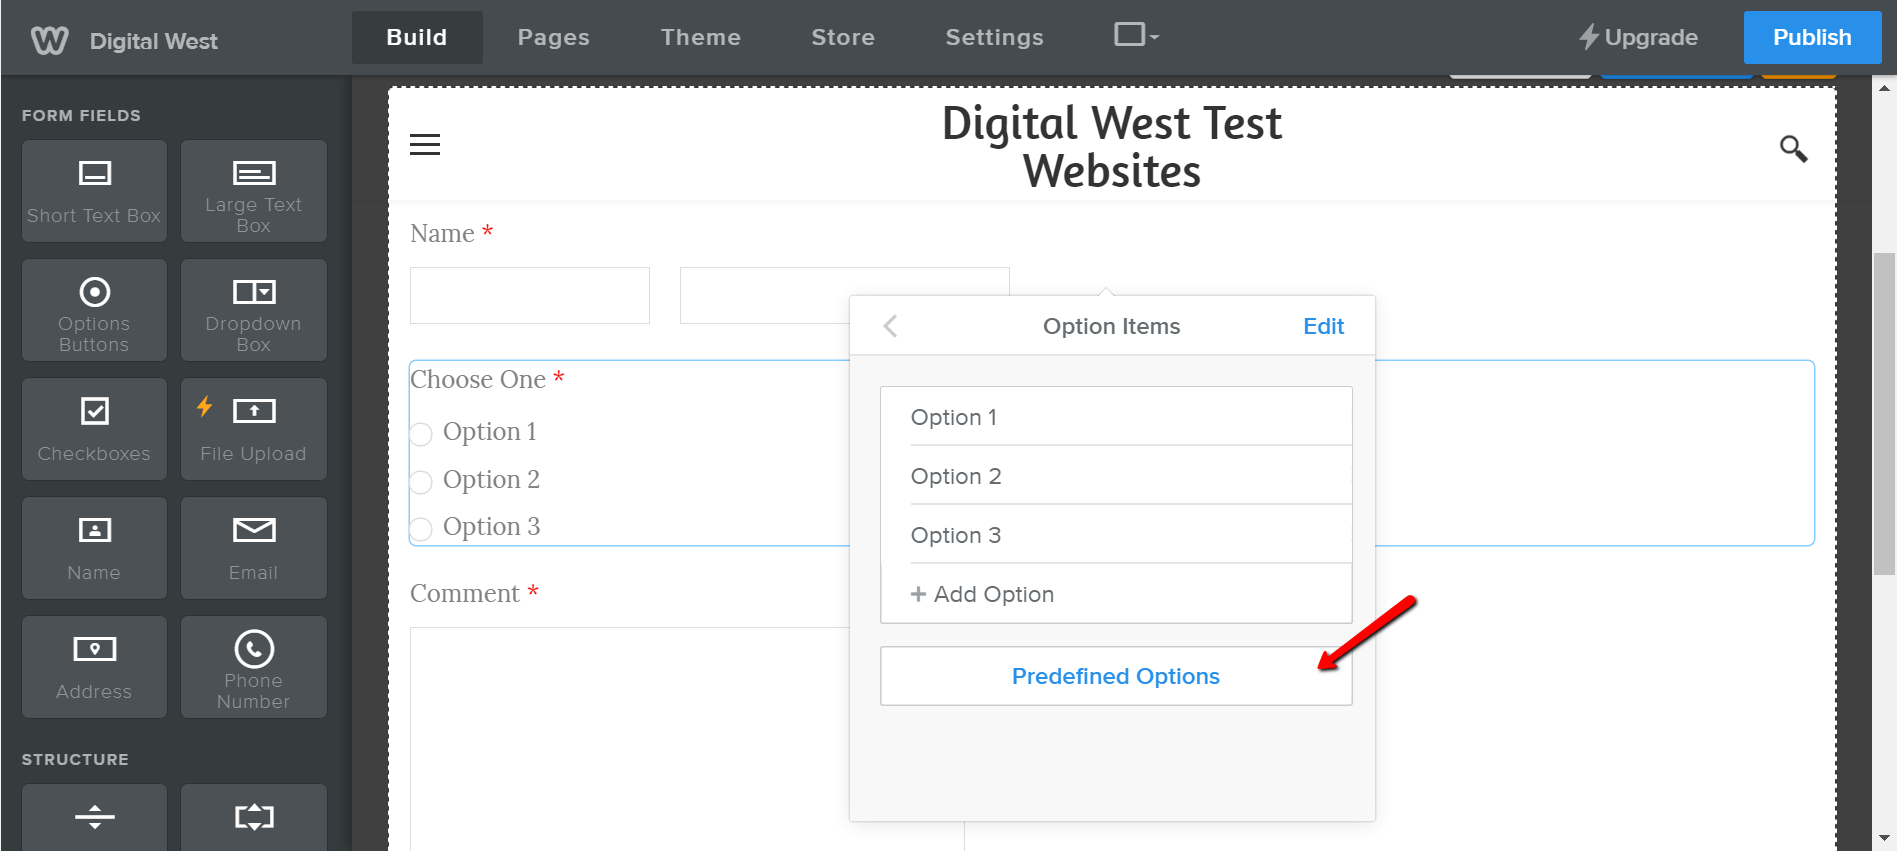
At this point we can manually add options by clicking on ‘Option 1’ button and adding text in there. But because we want a fairly common form item we can probably use a predefined field. Click on ‘Predefined Options’.
One of the predefined option is ‘Age’ which is exactly what we were looking for. So we select that option and then click done.
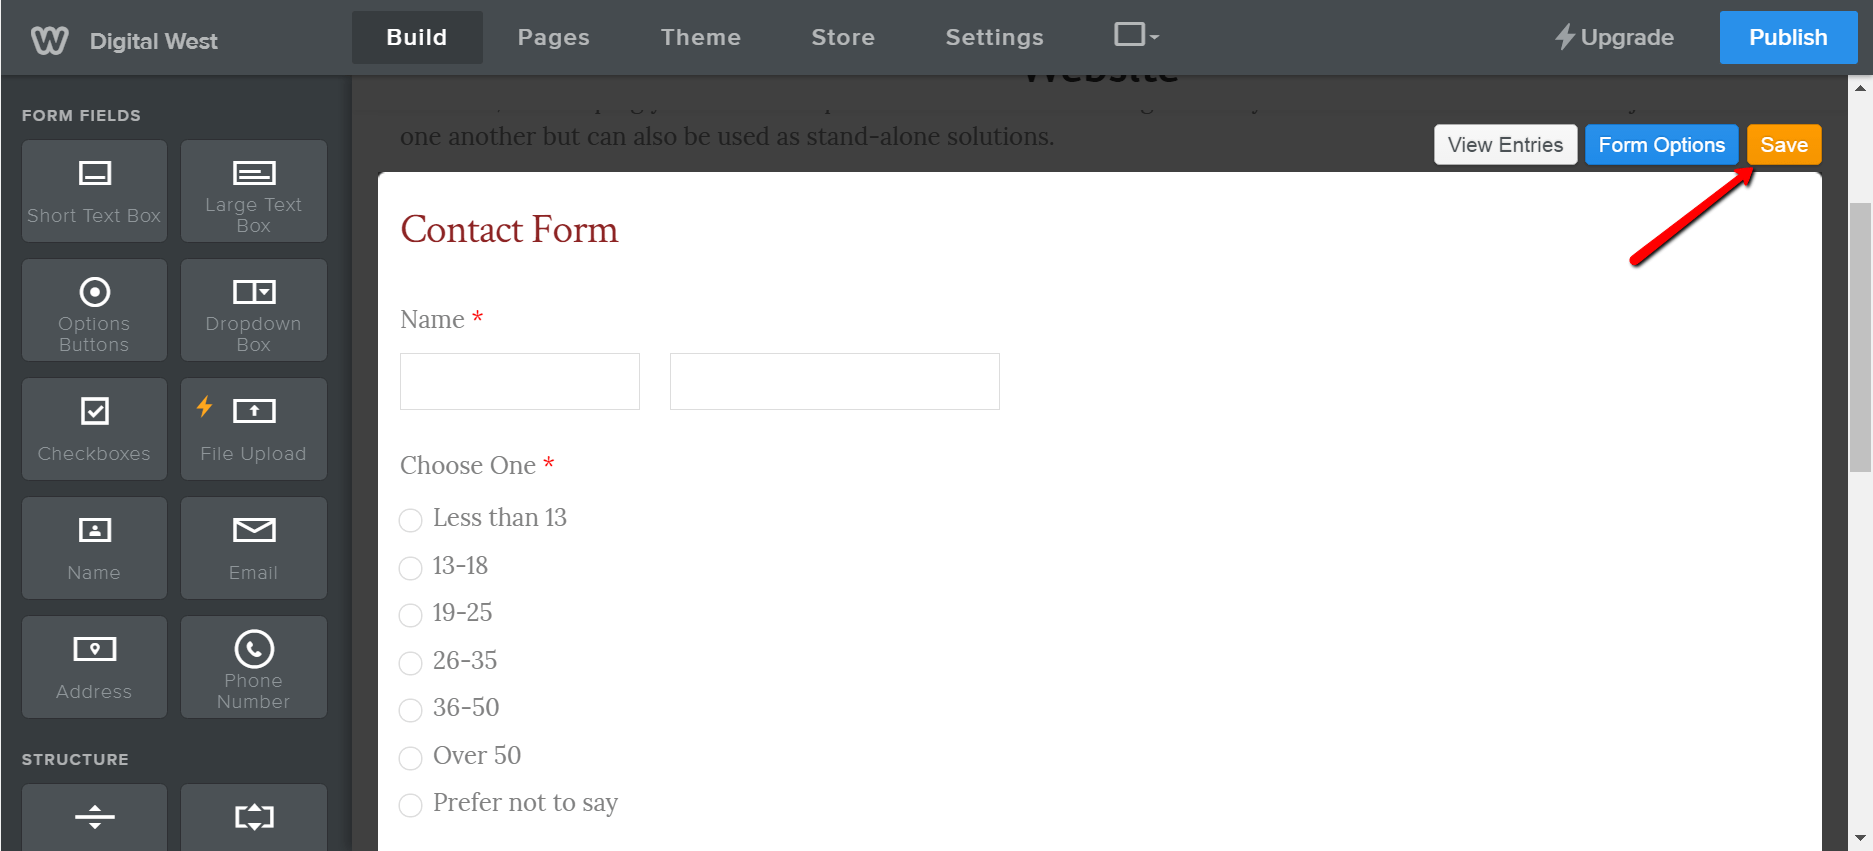
Now we can see that the age variables have been added to the form without us having to manually fill in those options.
After that, click somewhere else on the form to exit the pop-up options area and click the orange Save button on the upper right hand side of the screen.
Go ahead and populate the rest of your website pages with the techniques you have learned in this guide. Once your website creation is complete and you are ready for the website to be live with your changes, click on the blue ‘Publish’ button on the upper right hand side of the website.